Fairing the hull & deck went routinely, as in "tediously". I took a fairly aggressive approach, and a few spots came out rather thin.
I used my usual technique of applying putty to the seams, glass on wet putty, and saturating the glass. I tried applying the clear epoxy with a roller, and didn't like it. The glass saturates, but always seems to want to pull away from the wood. Maybe its because its on the interior, where the glass always wants to pull off anyway. I think it might work better on the exterior, where I can actually pour the resin onto the wood.
I tried gluing up blocks of cedar for the ends, but it proved to be more difficult than I remembered, so I fell back on the microbaloons:
Actually, I don't even know if this is quite necessary when I have internal stems. It is "supposed to" give you something to drill through for the carrying toggles, but it looks like I'd be drilling through the internal stems anyway. I kept it small.
About to glass the hull interior. I made a partition of trash bags to try and keep the heat in and have three heat lamps shining on the hull. Also warming the epoxy in a sink full of hot water.
This "tent" thing didn't really do much to hold the heat in. I'm using a new-to-me brand of epoxy this time: Raka. I was worried that it wasn't curing, but it just cures much slower than the MAS.
Also made an odd discovery: 100 watt light bulbs actually heat the work up better than 125 watt heat lamps? It doesn't seem to make sense, but I found that the 100 watt bulb will raise the surface temperature from 60 to 70 degrees in an hour, where the heat lamp barely moves it.
Glassing the hull interior went about as usual, some ripples to sand out.
The skeg box in place. This was somehow easier than the last time, and it looks straight.
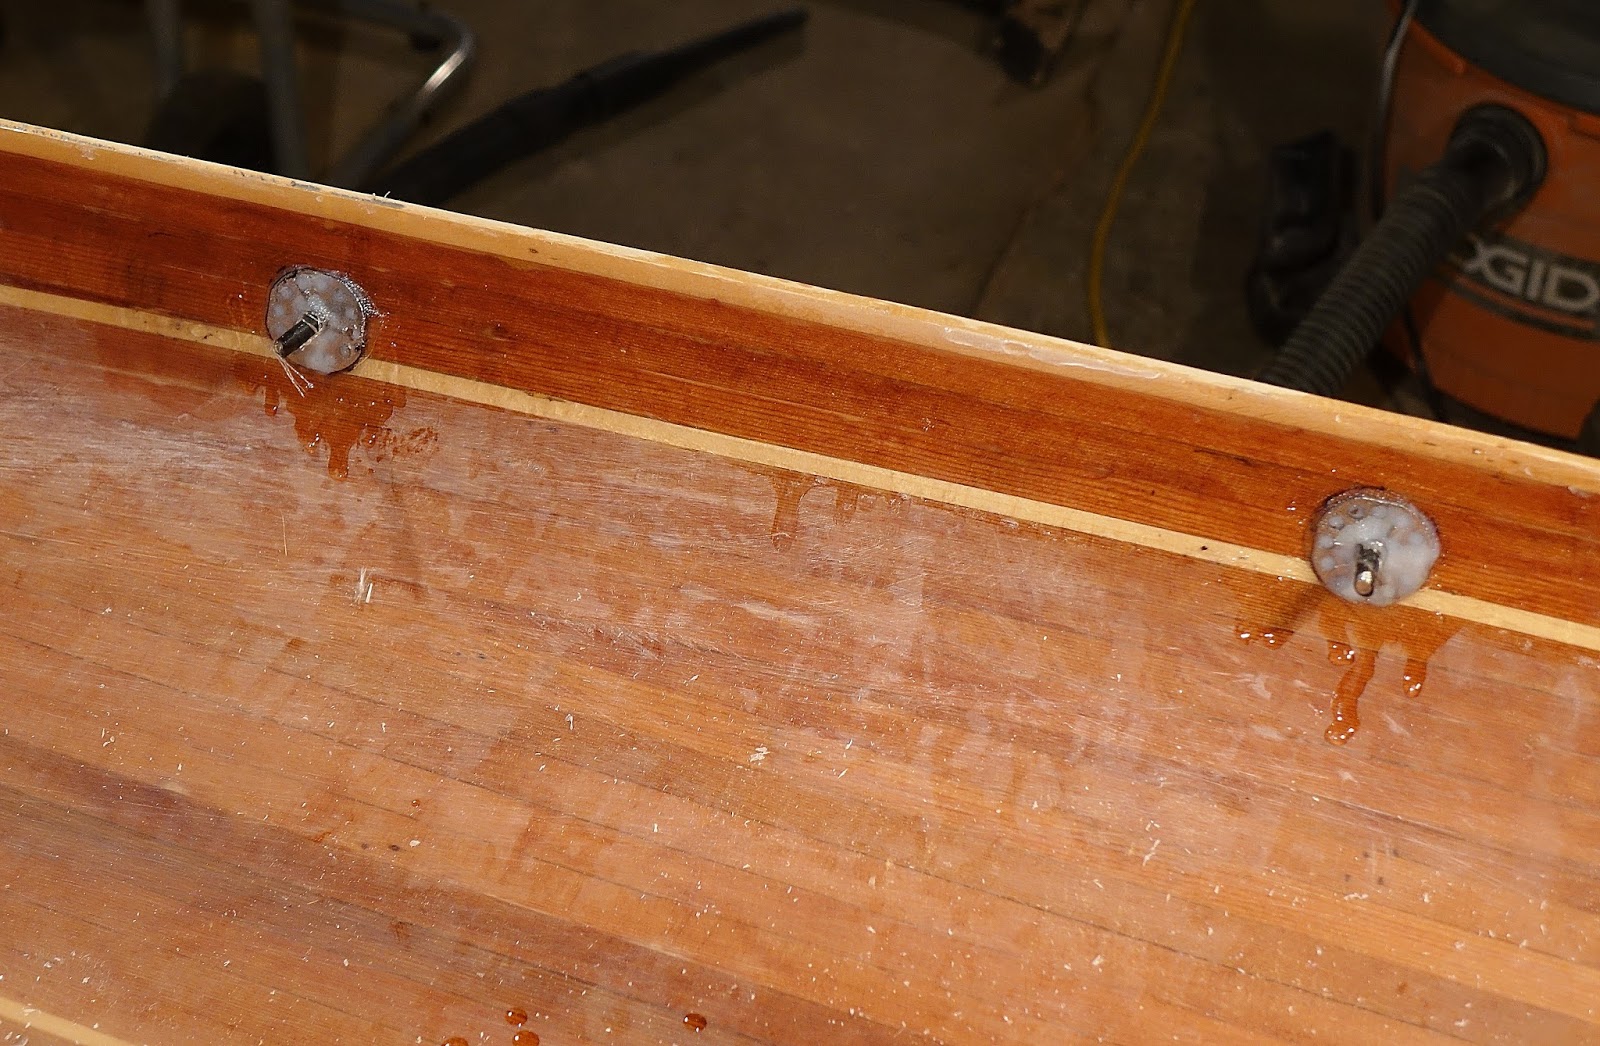
Foot brace mounting studs. I was stressing a little about the position of these, thought about it a little, and moved them 2" further aft than originally marked. I hope its right.
I was actually surprised at how nice the deck looked after fairing & sanding. The deck batch of cedar has a nice tan-red look, not exactly what I expected, but nice.
I decided to go for an inlay, and bought one from CLC. Routing out the recess was "fun" as usual-I even made a jig of Masonite to keep the router bit from plunging too deeply. That went well enough, but I had trouble making the inlay fit the recess precisely.
In any case, I have a nice bird to look at while paddling ;)
I (over) bought a new batch of cedar. I also discovered that my new Toyota has absolutely, positively, no place on which to hook a tie-down at the front or rear of the car! I resorted to making two loops of webbing attached to bolts under the hood & trunk lids. This seems to be the Standard Solution to the problem, but we shall see, come spring...
The second batch of cedar is of a lighter color than the hull batch, which I hadn't planned on, but I think it will look o.k.
I settled for a couple of narrow basswood strips for accents. I bought a nice veneer inlay for the foredeck.
The Obligatory Whisky Plank Photo-although in this case, its more like a Whiskey Sliver.
Stripping the deck went about as expected-tedious, painstaking work on the half-width strips that make the transition from vertical to horizontal, heat bending strips down to the deck, easy fits on the flatter sections.
I have also decided to build either a plywood or cove-and-bead cockpit coaming, instead of another molded fiberglass one. I want a plywood rim, because it seems to release the spray skirt more easily.