After some concern about the "legality" of it, I decided to build a shed. I'm tired of lugging certain tools out of the basement.

I dug 8" holes for a bed of gravel and two blocks. I leveled the blocks by adding or removing gravel. Leveling is weird: you tweak and tweak, "push-me-pull-you", and when it seems like you'll never get it, voila! its level! Its also weird how things that are measured level never seem to look that way by eye...?

The floor framed. My bubble level "swears" that its all level, but it still looks "funny". These are pressure-treated 2x6"s. I considered building the entire shed of P.T, but I didn't want to deal with the weight and blade-killing properties. The rest will be of water-sealed plain lumber.
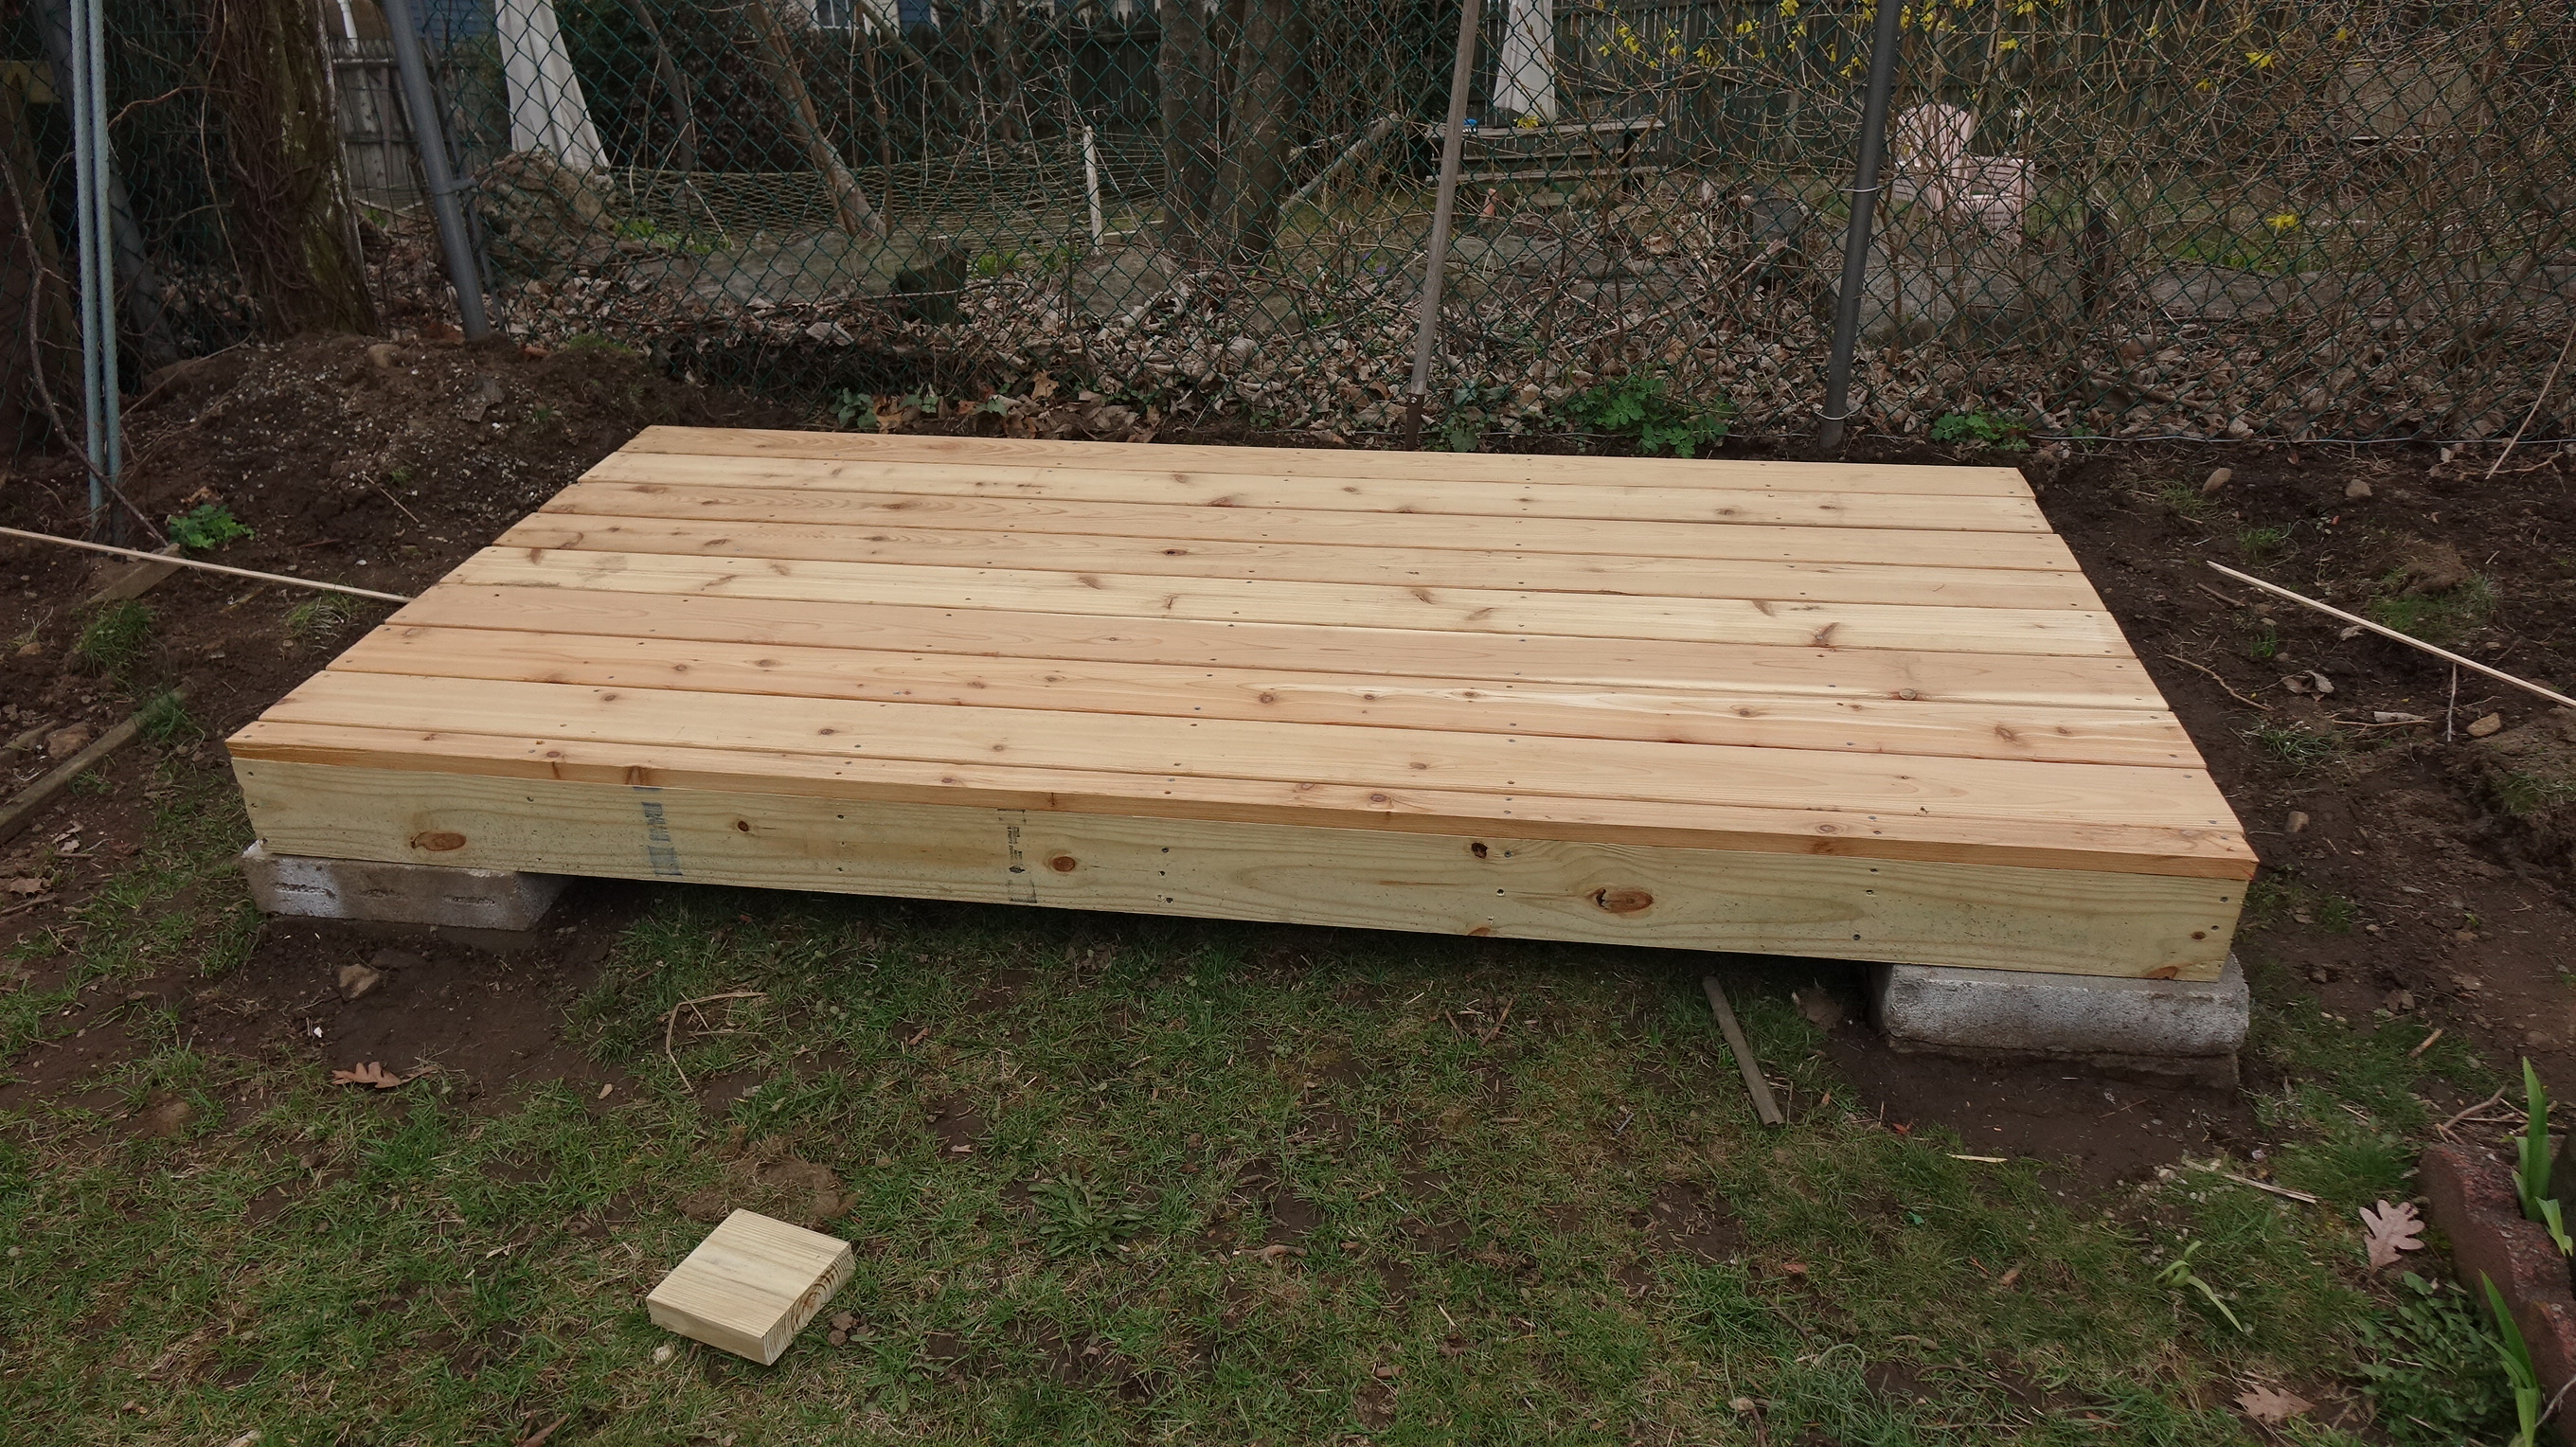
Decked.

It doesn't look like much from a distance, but man this was heavy! I eschewed the carriage bolts called for in the plans, and attached the top piece with six deck screws each. The assembly had a mind of its own, and I fumbled and bumbled with clamps, scabs, etc. until I got it up there, something like plumb. I'm considering putting the front supports up individually (but I probably won't 😏)

Ok, I didn't put the front posts up individually 😏. The front posts are shorter and lighter, so the whole assembly was easier to handle. The rear wall is attached with 4" carriage bolts and nuts, but they was really difficult to reach on the ground, so I resorted to 4" lag screws.
Its fun to watch the parts go together after all that measuring. I don't really do many carpentry projects.

Putting the rafters up brought a surprise. I made one "master" rafter, and used it to measure all the cuts on the others. I tried the fit all the way on the left side, and it was good. As I put more rafters up, I noticed that they looked "too short". I measured the distance between the uprights, and they were 1" further apart on the right. The rear/upper support had warped! Ratchet Strap Brute Force brought everything back together.
Once the rafters were up, I could see that this was going to be a building you can't stand up straight in.


Doing the sides was straightforward enough until I got to the angle cuts. I don't get along well with bevels.


