After trimming the bow & stern keel end with a plane, I found the bends to be more extreme than I thought. 1/4" strips of pine and cedar would not make the bend without snapping. I went to 1/8" strips, and yellow cedar almost made the turn, but not without brute force.
I decided to try heat bending. After some advice, practice,trial, and error, got some results with 1/8" pine.
It seems as though the wood won't begin to bend until it is also about ready to burn. With some practice I got the stern keel strips done.
A typical barrage of tapes, staples, and brads to get it in place.
Happily the bow strips go down without any need for heat bending.
I'm glad I had a chance to practice this technique on the bottom, before I start the deck.
I laid up 3 1/8"x3/4" strips, and one 1/8"x3/8" strip on each end.
After some planing & sanding, I think that the 3/8" strip may not have even been necessary. I'm trying to sand the keel strips to blend into the 1/4" pine keel strip.
I decided to try Vaclav's technique for filling in large areas where where the full-length shear strips meet the strips laid parallel to the keel. I let the ends fall short:
Then I used a full-length 1/2" strip to mark the cutout. I had little faith in my ability to follow the line with a saw, so I stapled it on & used it for a cutting guide:
This was harder than I thought. This technique requires a lot of skill with the saw. My pullsaw was too aggressive, so I resorted to multiple passes with a utility knife. This unfortunately gave a sort of V-shaped cut.
Planing the strip was more difficult than I thought it would be. At one point, the tapered strip would fit in like a wedge, but pull a neighboring section too far apart, etc,
The strip in place. It was not exactly a "Voila!" moment. Some gaps that will need to be filled. After all, I think It might have been better to fit each end. I dont think I'll be trying this on the deck.
After having reached the first & last forms with full-length strips, I ran a 1/4 x1/4 pine strip the length of the keel, nailing it in with brads. I used a string line, stretched it straight, and generally ignored the center marks on the forms. It came out pretty fair, except for a lump around form #16.
I then ran the strips parallel to the center strip. This seemed ridiculously easy compared to the long strips near the sheer line. The lie much flatter, only a slight taper needed, and they naturally get shorter as I go along. I left the ends unfitted, since I want to try Vaclav's technique for "filling in large areas". More about that later.
My most-used tool for holding strips in place is plain old filament tape. It fits into small spaces, and you can really get a good squeeze with it, especially with multiple laps. I'm not an anti-staple purist, but I sometimes found that they don't really hold strips under a lot of tension.
Having finally filled the boat up to the waterline strip, I decided that if I build another stripper, I will not use a waterline strip.
I posted this picture because I think it is the first stage where it finally begins to have some curvature and shape that suggests some kind of boat. The usual barrage of L-shaped brackets and clamps. I found that filament tape works well to hold the strips together.
I'm surprised at how much easier is it to improvise on the second strip-job than the first.
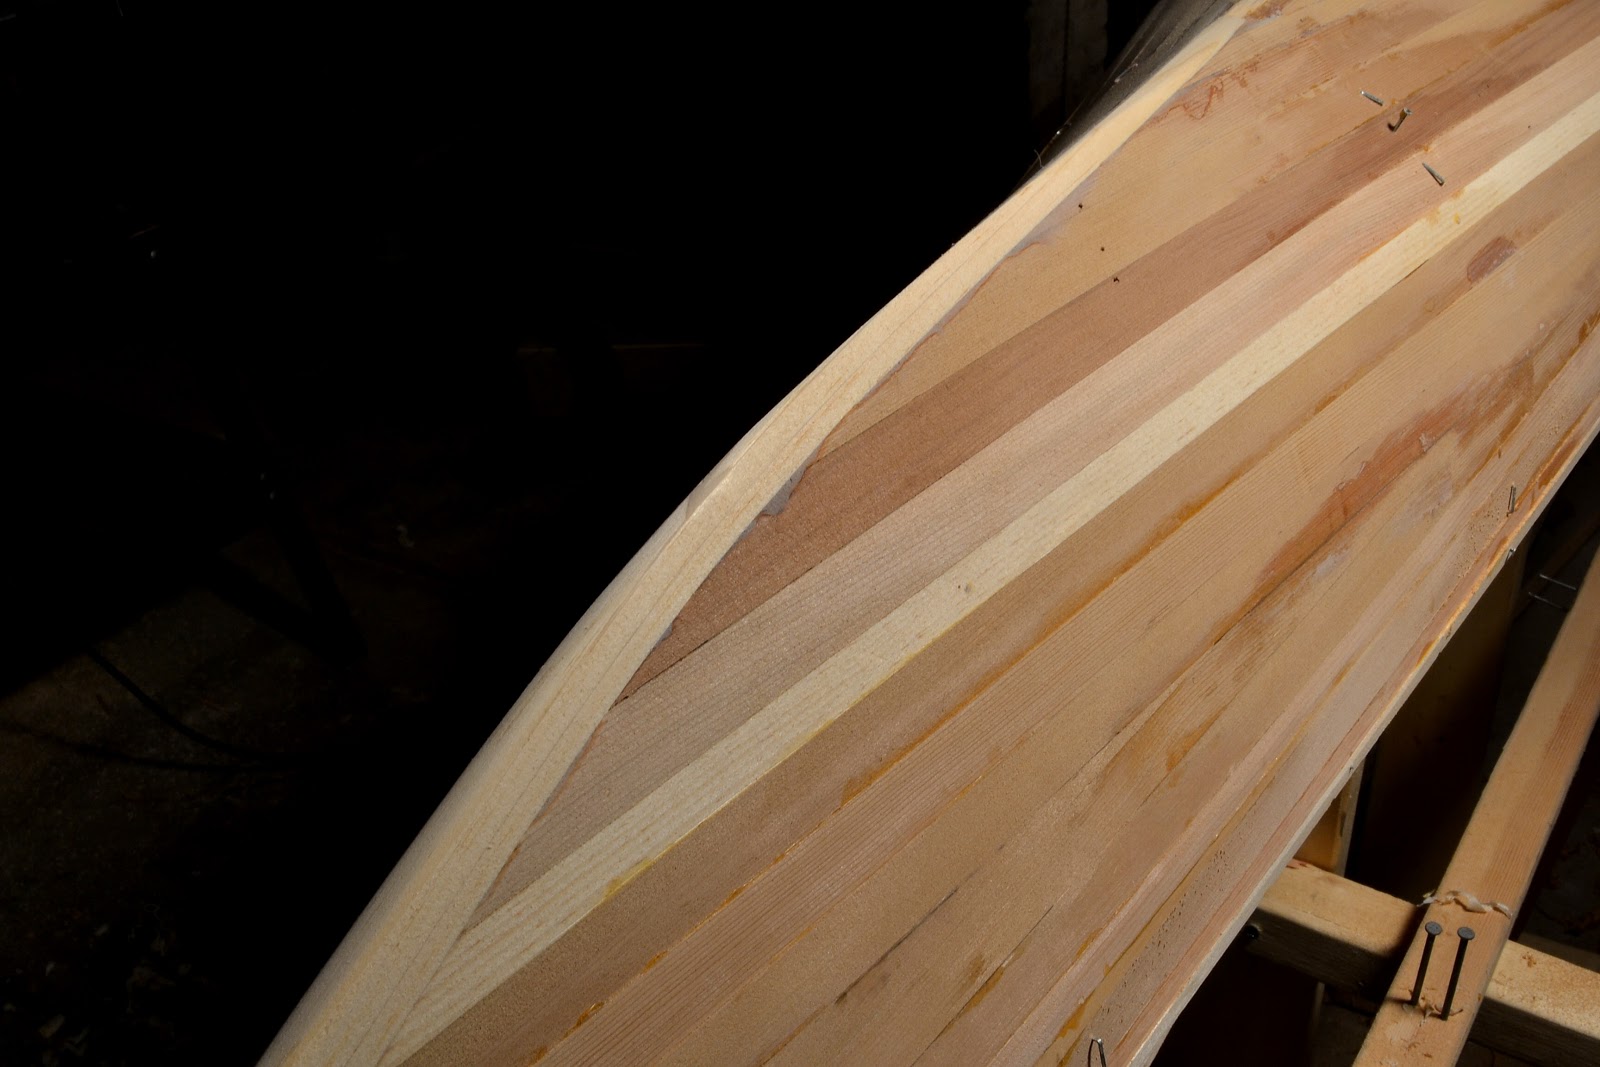
Also pleased that the strips from both sides came together fairly evenly, to a workable V shape. I laid a 1/4" pine board down the keel line. Again, I found that if I followed the lines on the forms exactly, I came out with perceptible squiggles, so I stretched it straight down the keel line, and tacked it down with brads.
I also started planing the ends down to the forms. I have some cypress strips that were for the shear clamps of my Hybrid-I may try making keel strips of them.