The Interior
I decided to do lots of the fairing work with the boat still on the strongback. It seemed like a lot of work this time around. Strange, how different parts of the project increase or decrease in difficulty each build.
The deck was easy to remove. The hull, of course, wasn't. I ended up having to saw the beam in half again, but fortunately, nothing was glued together this time. I was thinking about saving the forms & strongback intact, but on second thought, the whole thing is too massive & heavy to have lying around. I'll just save the forms.
Lots of grinding, scraping. etc. on the interior. As usual, it got pretty thin in some spots, but I just "went for it" with a 40 grit sanding disc.
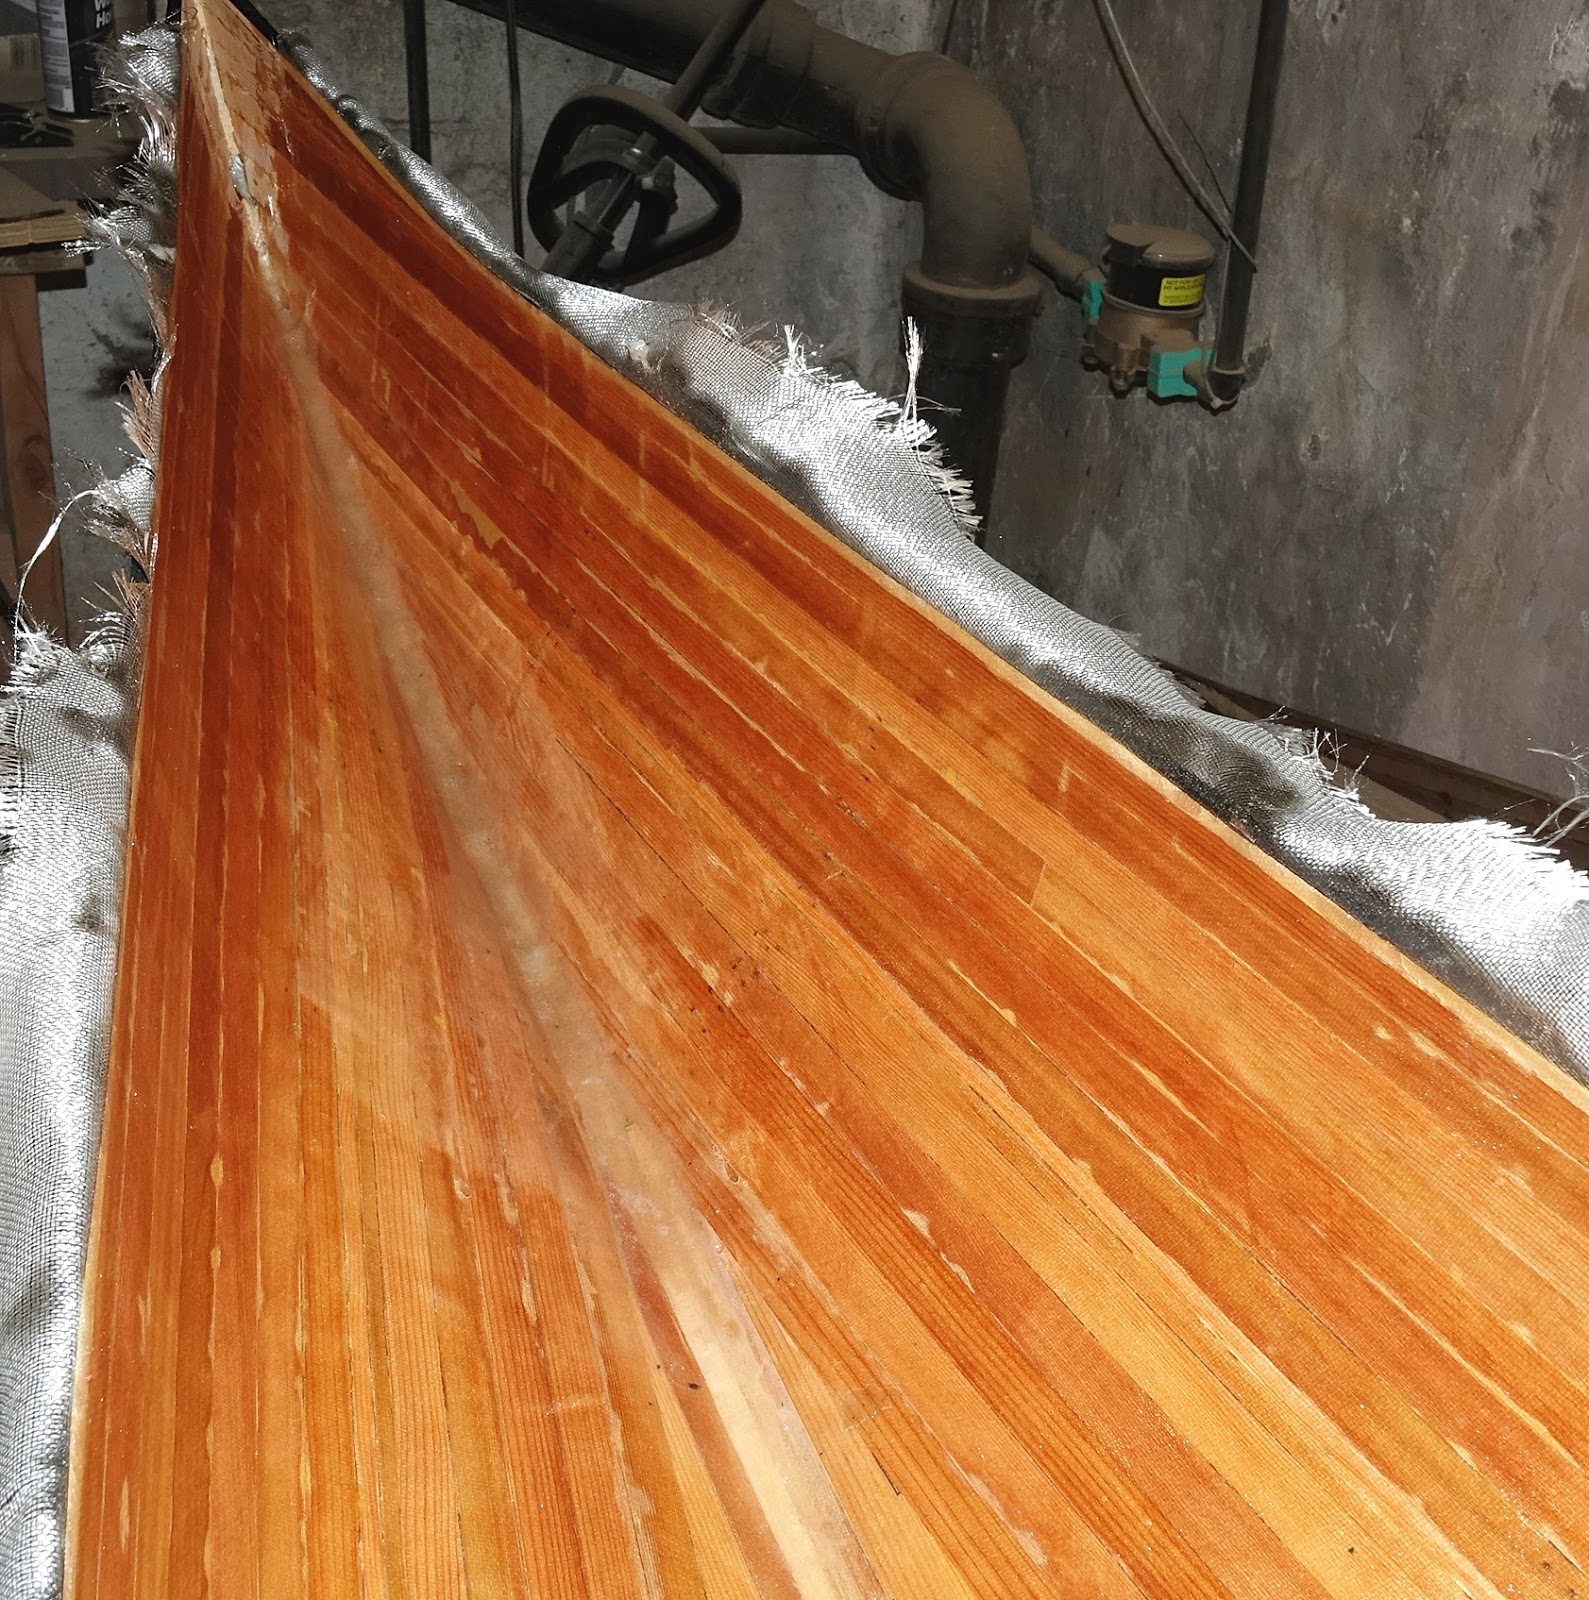
I had a bit of a revelation while trying to fair out the ends. On my stitch-and-glue builds, the instructions have you make a fillet, then apply the glass, and wet it out with epoxy. It occurred to me that I could do this in the areas that I couldn't reach, and the thin spots.
Worked like a charm! You can see some haziness where the filler mixed with the clear epoxy, but the whole thing came together well, with few or no bubbles. To think: I had been doing a fillet, then laboriously grinding it back down. I'll probably do this on the underside of the deck, too.
I did the footbrace kit as on the last build. Pretty easy, once I figured out where to put them.
The skeg box glued in. I decided to try to center it on the keel, instead of putting the whole box through the hull. The string is there to align it to the boat, but I did a lot of adjusting & tweaking to make it look straight. I also put it somewhat forward of where the instructions recommend.
Glassing the underside of the deck went fairly easily. I used the putty-fill technique as above, with good results


No comments:
Post a Comment