Thursday, November 18, 2021

Snowshoes

 I am planning to take a crack at re-fiberglassing the O.I. this winter,  but since its too early to start, I thought up a project for the interim: snowshoes. I had a lot of trouble finding plans-it was either low- cost snowshoes made of materials like plywood or PVC pipe, or "buy our beautiful kit for $175". No one had templates or much in the way of directions. I thought about laminating wood into a frame, but I couldn't figure out what size and shape to make it. I decided on "Ojibwa" or "Yukon" style shoes, and found some instructions.
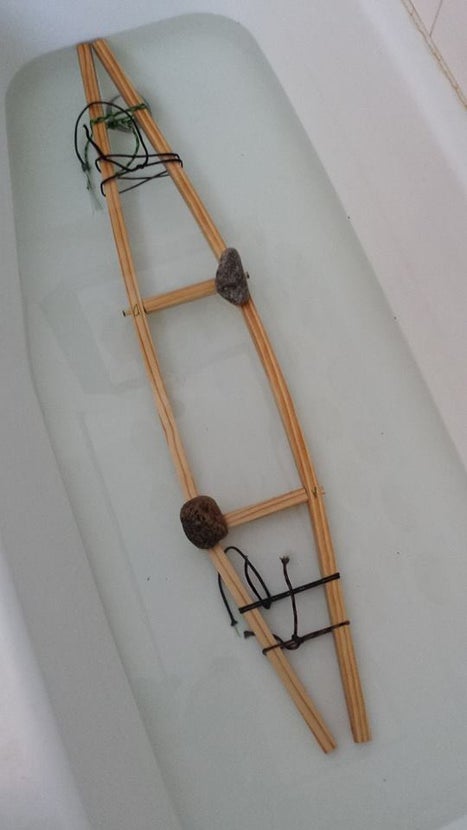

 His photo. He's bending the wood incrementally by soaking in a bathtub of hot water. I printed this, took measurements, and did some math to figure out the positions of the cross beams.


I made the frames of 3/4x3/4 ash and rounded the outside edges on the router table.
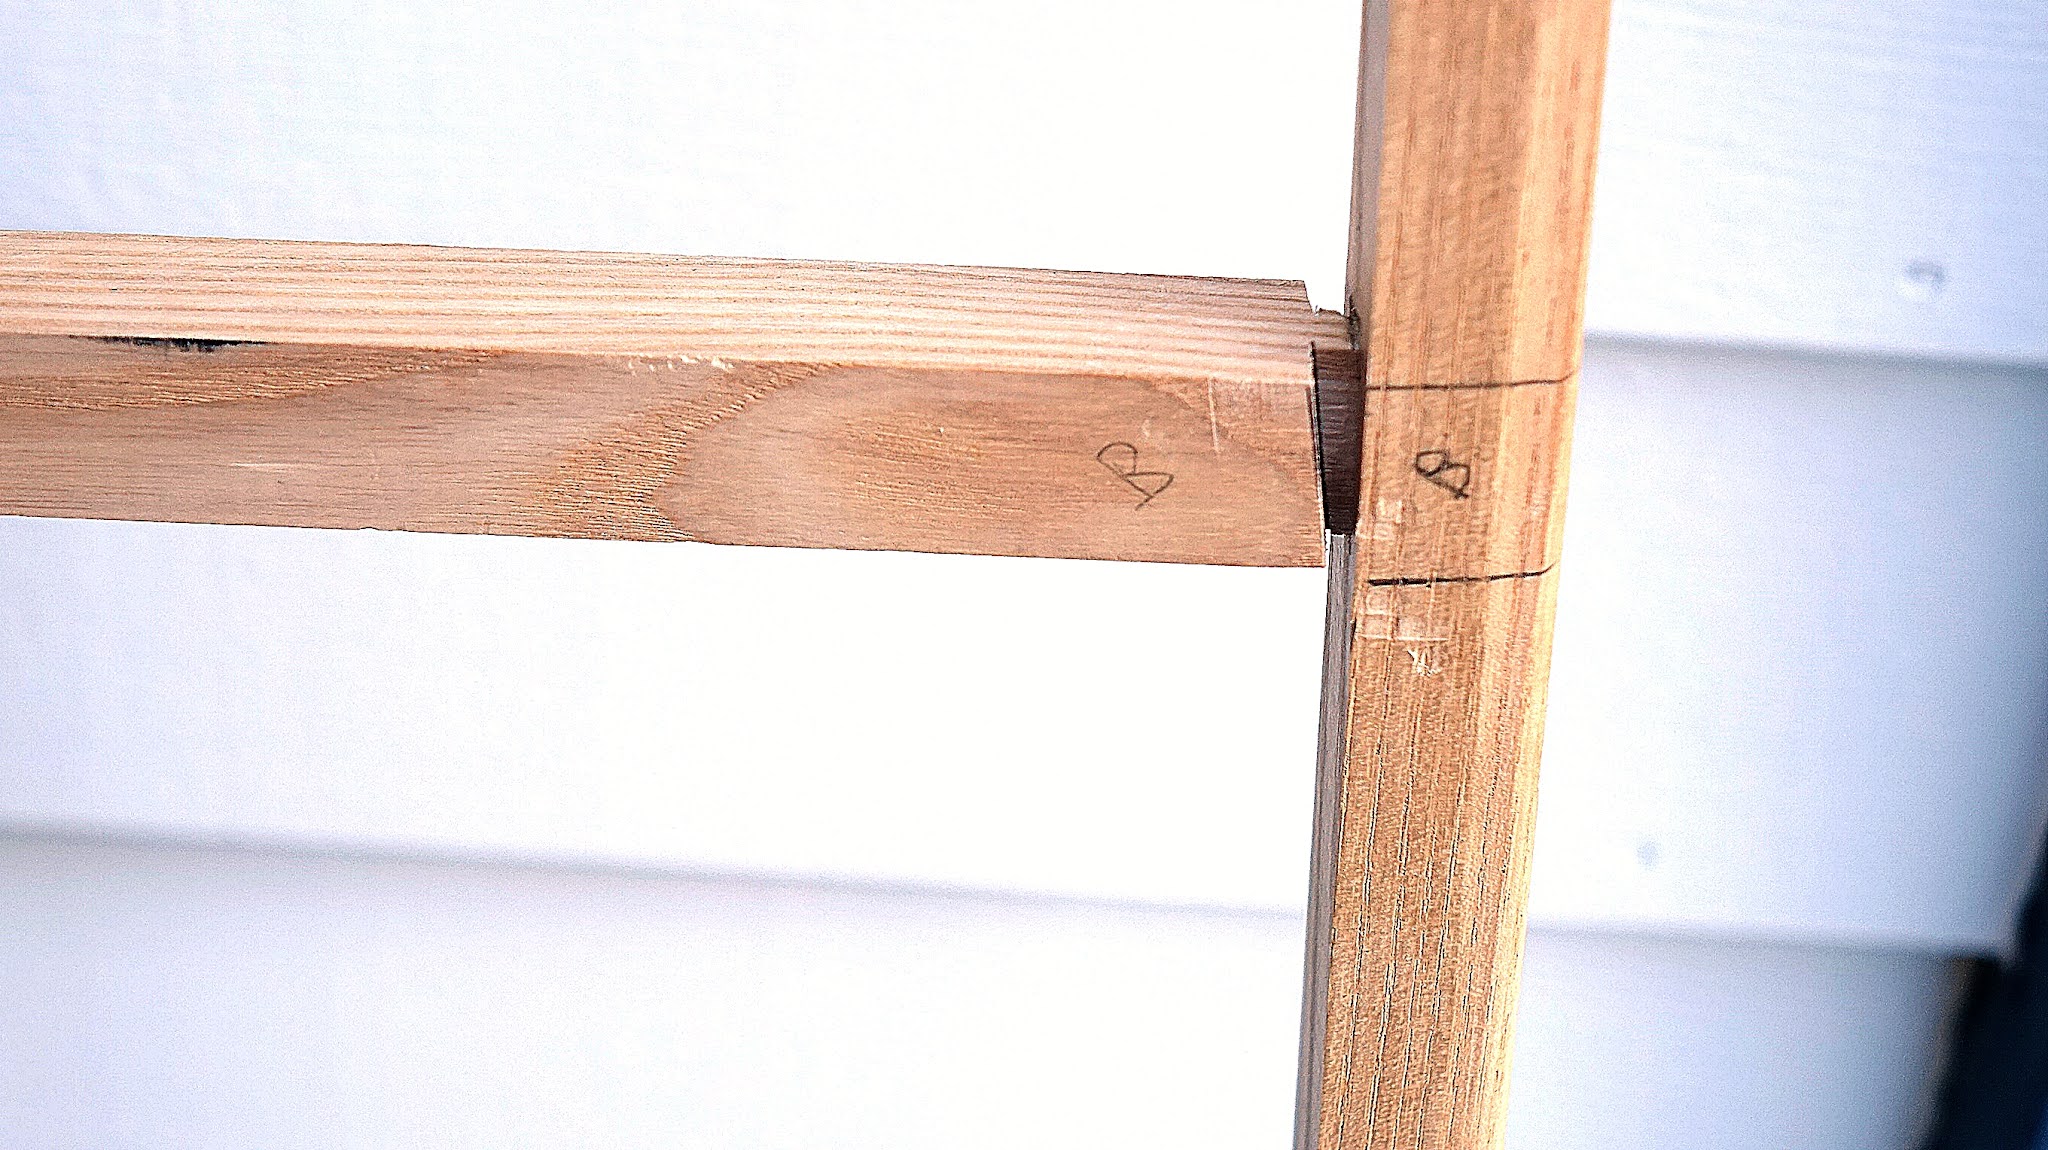

The original instructions seem to be anti-power-tool. He cuts mortises with a hand saw, whittles a dowel by hand, and drills a round hole in the frame. I did mortise-and-tenon joints on the table saw. As an afterthought, I also put a small angle on the tenons to accommodate bending.

I cogitated for a while about whether to bend the wood in hot water, as shown in the photo above, or use the heat gun. I thought that the water bath might provide more even heating for a graceful curve, so I decided on that method-however the frames didn't fit in my tub! 😉

I tried the heat gun, but I couldn't get the pieces hot enough to bend. These frames are three times thicker than the 5/16" cedar strips I'm used to bending.


Plan C. I found a piece of 4" PVC pipe, glued an end cap on it, filled it with boiling water, and soaked the long pieces of the frame for 1 hour. The wood is held underwater with a rock.

After soaking for an hour, I assembled the parts & started clamping together. I found that I could bring the ends of the frames together, but it seemed like an awful lot of brute force-the wood wasn't taking a set to the bend at all, and the whole clamping arrangement "exploded" several times. I put a screw through one end. It seemed that I could have held it together with screws, but they would be doing a lot of work. Project shelved for now.

Back to the Old Drawing Board. I decided to try steaming.

This is similar to something I tried years ago. I had steam  coming out of the end of the pipe, but a lot leaked onto the hot plate & floor. I think that when people succeed at steam bending, they have a lot of very hot steam bombarding the wood, and I didn't. I also (foolishly) tried using the hose from my Shop Vac, and ruined it. 😕 
Back to the pipe full of hot water for about two hours. I noticed, after scrapping this technique the last time, that the wood had actually taken a little bit of a set, so I tried again. This time I succeeded in getting screws through both ends. 
I tried several methods for bending the tips-heat gun, weights, hot water et cetera, until I actually looked back at the web page, and noticed that they had shaved off a considerable amount of wood-like about half, where they wanted it to bend. I cut more wood off and tried this arrangement:

Rather brutal, but it was the first method that actually produced noticeable, permanent bending.
I had sort of given up on this project a few days ago, and ordered a snowshoe kit, with pre-made frames. My next plan was to complete this project with the intention for giving them to a friend, but it seemed like they were coming out way too big!  I'm going to start again, smaller.

The second edition, smaller. The first ones were 55" long, these are 48". Some parts came out better, like the rounding-over, but I slightly over-did the angle on the mortises.

I found a more convenient cabinet door to do the bending under. Learned a lot about wood bending, for example, that hot water really does penetrate the wood more deeply than hot air (heat gun) on the bigger pieces.
After I bent the second shoe, I realized that I had bent it more than the first one, and had to re-bend the first one to match! 😖


Paracord webbing of the toe section. Oh Boy. Very steep learning curve here. The closest thing I've done is the seat webbing on chairs, but this is much more complicated. I had major frustration finding an instructional video that didn't suck, and when I did, it was still frustrating to follow. Its hard to learn and hard to teach. There might be a mistake or two, but I'm going to live with them.
 In the meantime, my kit arrived. Very nice shape and neat woodworking. I went back to the videos for the lacing, which only got "easier" very slowly! After the usual frustration an do-overs, got it reasonably "right" and "acceptable".


Completed wrap of the first pair. I tried soaking them in hot water, to see if the Paracord would shrink, and it worked great! Tight as a tennis packet. 


After the first brush coat of Helmsman Spar Polyurethane. The tubular nylon webbing really did soak up the goo a lot. The Paracord was a little easier to saturate. It seems like a long time since I brush-coated anything with poly. The poly really does shrink when it dries, tightening up the weave.

Friday, June 11, 2021

Complete

 The varnishing went well enough, although the weather was less than cooperative.


Cockpit outfitting. Instead of side braces, I again opted for glued-in blocks of minicell foam, this time sized to accommodate the "Happy Bottom" seat. 

Once again I somewhat misjudged the position of the foot braces, despite much measuring and head-scratching! I have to use the last adjustment position.


At the lake. The in-water performance was good, not great. The v-bottom makes it somewhat "twitchy" to get into. Tracking was good, turning & secondary stability were o.k.
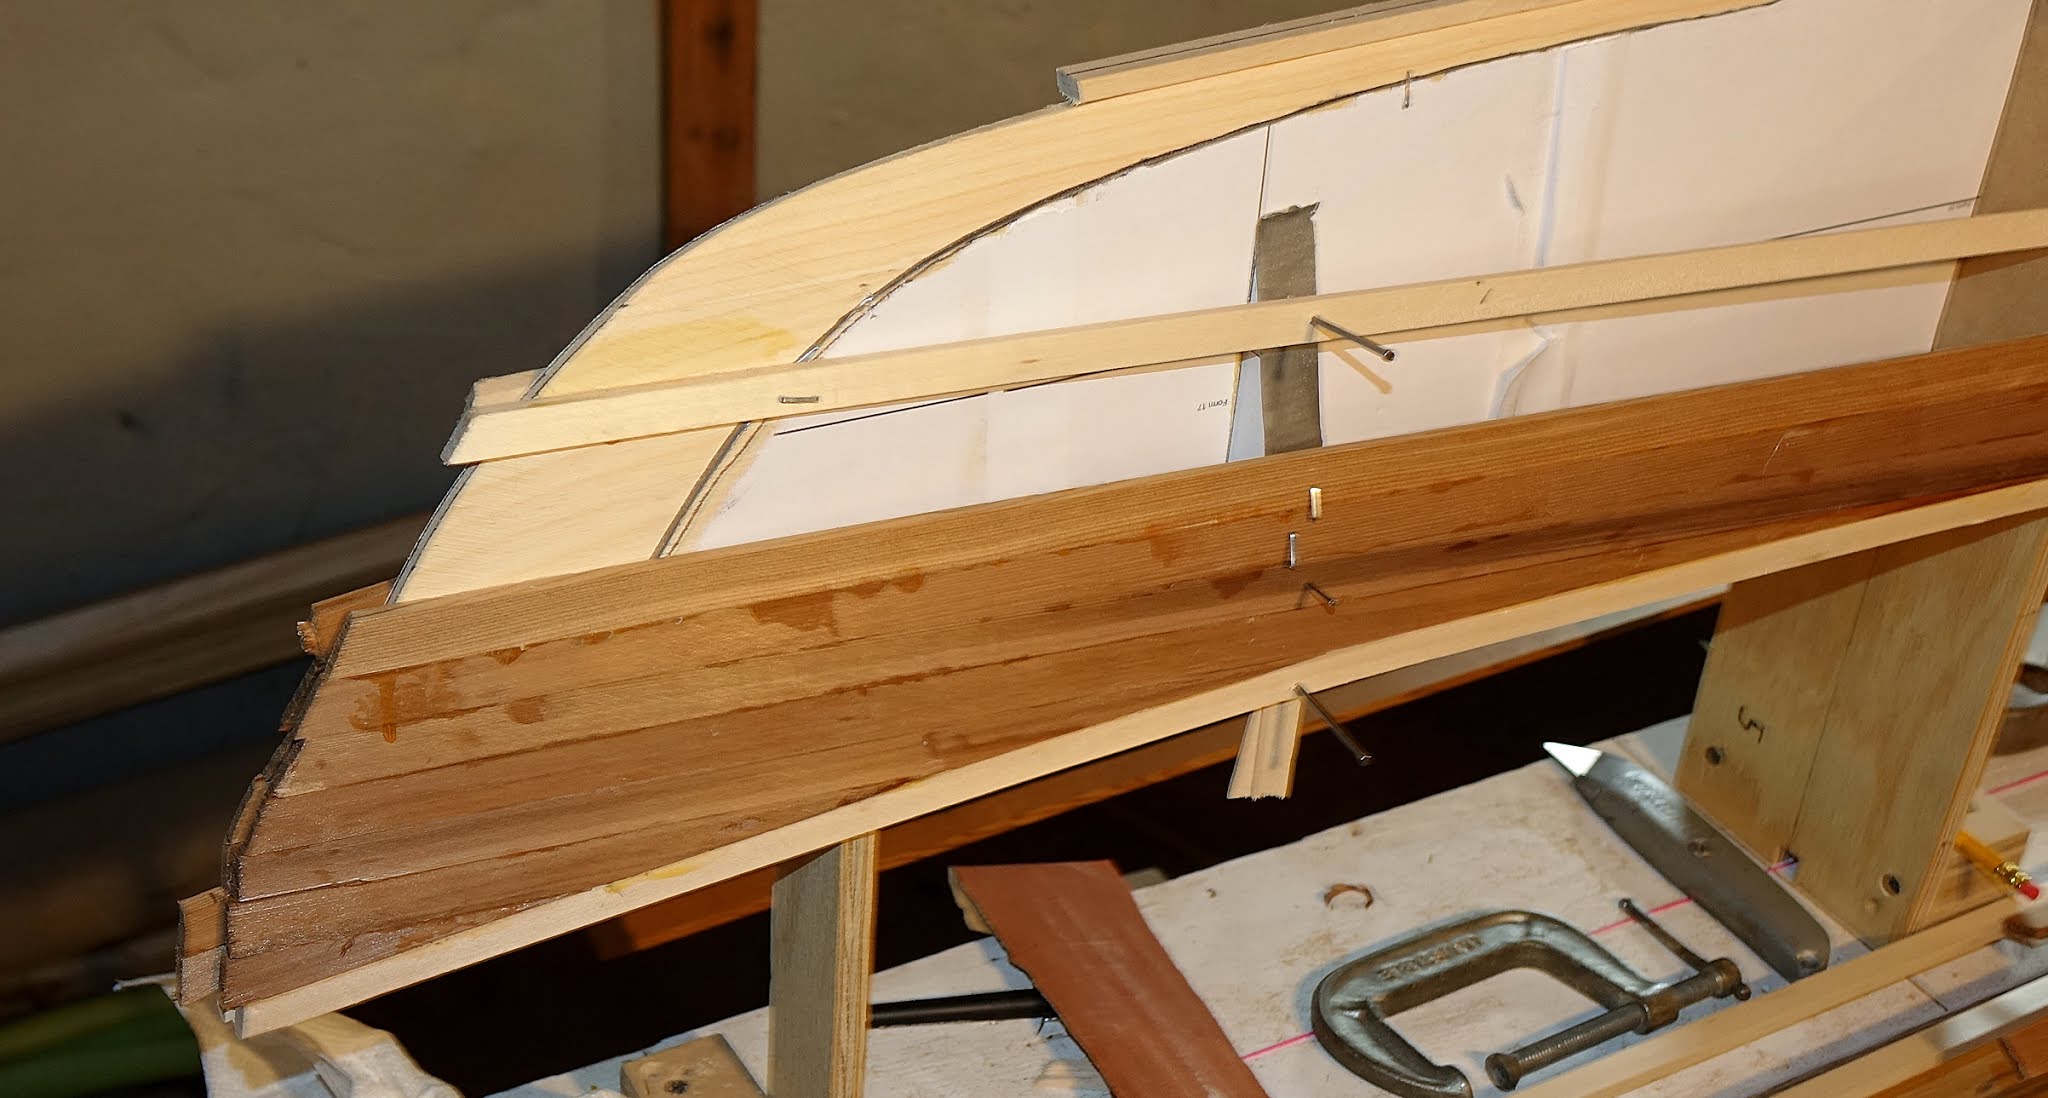
Later, tried it in some waves, and was disappointed compared to what I am used to. The bow and stern aren't upturned enough, and the v-bottom wasn't "slippery" enough.

Wednesday, June 2, 2021

Pre-Varnish Work

 I re-varnished the old O.I, and its now ready for use.


It looks better outside, although this angle makes it look very fish-form. The cockpit rim spray-paint job came out good, after evolutions. I put the mini cell foam bulkheads in, tedious work, but came out all right. Put in the footbrace studs for the Sea-Lect adjustable footbraces. Here, I'm touching up thin epoxy spots, and sanding, washing, sanding, etc.

Friday, May 14, 2021

Cockpit Coaming, Hatches, Etc.

 I did the laid-up plywood method just as in the last build. 


Every-clamp-in-the-shop photo.


After fiberglass, and a fill coat. I actually considered skipping this step, but I figured that it adds a lot of strength, so I went ahead with it. I trimmed the width of the rim for a tight fit of the spray skirt. First attempt at painting was a bust, don't really know why, but got it right the second time.


Hatch coamings, by the usual method. I decided not to paint the recess this time.


Saturday, April 17, 2021

Closing The Clam

 ....is always an "adventure" 😏


It seemed that the hull was too wide for the deck, so I resorted to the type of spreader sticks that I had used in the past. As I got further along, I was able to match the hull & deck more closely, and the two long sticks came out. 

Typical barrage of strapping tape, stretch tape, blocks, and ratchet straps to force it into place. Fortunately, I used RAKA epoxy with slow hardener, because it seemed to take "forever" to get it done.

Blunder Time: The epoxy didn't cure overnight! 😞 I used a type of "fairing filler" that retarded the cure, and when I looked at it this morning, the halves were separating. It pulled apart easily, but it was a bear cleaning away the chewing-gum-consistency epoxy.


While rassilin' with the fit, I noticed something peculiar. It looked like the hull was narrower than the deck, but when I used ratchet straps, the two halves came together, Nothing had shrunken-the deck had curled. The thin 3/16" strips may be more susceptible to wood movement, but on the other hand, the wood may have moved anyway, and it would have been even harder to to get back in shape if I had used thicker strips. I never had quite this much trouble until I started using 3/16" strips. This time, I used colloidal silica filler instead of that pink junk, medium hardener, and all my ratchet straps. It worked!
The interior reinforcing strips went as usual.
After all this was done, the deck aft of the cockpit area seemed a little too "flexible", so I added a piece of fiberglass to the underside.


Saturday, April 10, 2021

Hull Work

Work is the operative word here 😉 

Spent the entire day yesterday sanding the hull, so that I could fiberglass it this morning, before work. The glassing job went routinely. I opted for only two 2" reinforcements at the ends.

On the interior, I filled the stems in with dookie and 'glassed in three sections, as usual. I saw that the ends of the stems extended at least 2" into the interior, so for the first time, I'm going to skip the "end pours" of epoxy, and simply drill through the wood for the rigging. 

'Glassing the underside of the deck went routinely.

On second thought, those 2" reinforcing strips looked pretty sparse, so I added 4" strips on top.

Friday, March 19, 2021

Deck Work

 After the "painstaking" full-length 3/8" wide strips, I continued with full-length 5/8" strips up to the cockpit area.


The full-length strips seem to have filled in about half of the deck.

A bit of an "oops". I use a paper template to check if the strips are long enough to reach the cockpit area, and the time that I didn't bother to check, I glued in a strip that was too short! I considered butt-joining little strips to fill the gap, but instead decided to try un-gluing the work with the heat gun. It was surprisingly easy-I heated a utility blade just enough to go through the softened glue, and the strips came out. Light scraping and it was clean.

After the new strip were in, it looked just like a slightly-less-than-perfect glue job. The broiled glue residue sanded off easily.


Obligatory Whiskey Plank Photo. I made the previous two strips extend to the form, then filled in the gap.

Wednesday, March 10, 2021

The Lyman and Rapallo Viaducts

 I have never spent much time on The Airline Trail. I had a tendency to think of it as a place with a Meaningless Micro Geocache every 500 feet, but a few weeks ago, I was looking for a place to X-C ski, and I found a geocache right on top of it. Boy, what a surprise!

 The Lyman Viaduct. It looks more like something I'd expect to see someplace like New Hampshire or Maine. It was once a railroad trestle, 1000 feet long and 160 feet high-now its filled in with sand, and resembles a dam, but with no lake.


This is how it looked as a bridge. Incredible sight!


This is from the end. Try as I might to take a picture that shows the scale of the thing, it just didn't go. 

I think what's happening is that the Trail brought me to a view that there was no other way to get to. I drive up and down hilly roads, but never see the geography.

Of course, I read all about it, and just had to explore. I found a well-worn trail to the streambed.

I had read that these trails were causing erosion on the fill, and here is some exposed ironwork. I felt a little bad about using the trail after I saw this, but I also saw a couple of ridiculous "scramble" trails right on the viaduct that I didn't use. 


Dickinson Creek flows under the viaduct through these culverts. I saw old photos of these where both were flowing a moderate amount of water, and there was a pool at the outflow. Now, only the left is open, and 3 feet of whitewater comes through.


Ornate graffiti. What looks like sand is actually poured concrete.


I know that graffiti is vandalism, but some of it is so well-done, it almost deserves to be there.

I just had to put my headlamp on & walk through the culvert. The graffiti is a little more "sinister" inside:


Or downright distasteful:


 The view halfway through. It was about 100 yards long.


Almost there. There was only a trickle of water, and it was paved with the same concrete as outside.


The end was dammed, and there was a pool about 4 feet deep. For some reason, I thought that I would be able to walk out & explore some more, but not without wading through icy water.

3-11-21
I returned today to look for a geocache on Dickinson Creek. I had a Hiking Hint from another cacher that included crossing the Viaduct and descending the slope to the other side.


Tried another photo on this sunny day, but I still think it doesn't convey the sheer scale of the thing. 😉


This is the upstream side of the culverts. It would be very difficult to wade through this fast-moving water to enter the left culvert, not to mention the logjam to climb over. Entering the right culvert and wading in three feet of fast water would be foolish indeed.


I also saw an impromptu campsite, with a fire pit and this teepee frame.

The Rapallo Viaduct. I had considered walking the Airline Trail to this site, but it looked too boring, so I looked at the geocaching map, and found a trail from Daly Road. The "trail" was actually an undeveloped work road with lots of logging taking place. 

I guess someone's afraid you'll steal firewood?

Another Smiley. Maybe someone's way of marking cull trees?

At the end of this road, I spotted a very long pipe. It was the Air Line going over the viaduct.


I wonder what this pipe carries?
This is only supposed to be 60 feet high, but it seems almost as tall as the Lyman. View of Flat Brook zigzagging across a marsh:


I crossed the Viaduct, and found an easy trail to the bottom. The brook goes through a single culvert, sort of a "junior" version of the Lyman:


New Technique For the Deck

 I read/saw pictures of a different way to deal with the deck at the ends. It involves using a solid piece of trim wood instead of making difficult compound bevels on continuous strips.


I left the strips short, planning to cut the waste off after the deck & hull are joined.


This seems a little easier, although I'd have preferred to go a little further towards the ends. The solid piece is going to be slightly bigger than I would have liked.

I joined the hull & deck before working on the ends. I found it slightly convenient to have holes on the ends while I was putting the reinforcing tape on the inside of the seam.


I cut the block of basswood off at a ten degree angle, then used the block itself as a guide for cutting through the deck.

Saturday, February 13, 2021

Stem Work

Filling in the bottom went fairly routinely, including "parts looking crooked that really weren't"

For the stems, I ripped & planed rather thin & wide strips.


 Strapping down the first strip, as usual. I planed the the hull slightly where the strip was to go, so as not to reduce the rocker any more-the rocker is low enough already! 

The stern required some heat bending, as well as a little Brute Force  at the end.


Monday, December 21, 2020

Cheaters and The Waterline


 I did the usual technique of running a full strip out from the sheer and filling in with cheaters. Again, the 1/2" accent strips seemed more sturdy. At the areas of forms 1 and 16, I found that the shim wasn't actually necessary-I just made sure that the strips went in with a fair line.


At the bow, only two cheaters were required.


The the first strip that fills the gap between the accent strips was a little "fancy", requiring planing to make it fit in between for about 1/3 of its length. I decided to try making the scarf joint in situ instead of ahead of time.  I was able to place the strip in two sections.

Where the strip nearly filled the gap, I simply removed the nail in the accent strip, and clamped together. I only had to move the accent strip about 1 mm.

Filling in to the waterline went well. I've gotten a little better at tapering the strips so that they fit to the end, with little need for filler.

Monday, December 7, 2020

Starting To Strip

I decided to make the sheer & waterline strips a full 1/2" wide this time. The bow & stern aren't as curved in this design, and I had no problem bending the bigger strips.


 They fell into place on the lines pretty easily. In fact, it seemed easier to get a fair curve with the bigger strips. I only had to make two adjustments, and didn't have to move any of the forms.
Similarly, the  1/2" keel strip seemed easier to get straight.


A bit of a "situation" appeared at forms 1 and 17. If I ran the strip from the next form, there was a big dip to the form. That's probably where I made the bow & stern entries a little too fine on Kayak Foundry. These forms didn't look right all along-they may be placed wrong. I put a 6d nail through the strip. The strip can be slid back & forth on the nail to meet the neighboring strips, for a fair line. 


Saturday, November 21, 2020

Setting Up

 After getting all the forms trimmed, I decided to set up to the waterline level, as in last years' build. Much to my surprise, form 6 had the least distance between waterline & keel! I had assumed that it would be the biggest form, form nine. Puzzled, I went back to Kayak Foundry, zoomed in, and sure enough, that's how t is. The keel slopes back down to forms 7 and 8, then curves up to the stern. 


Additionally, I discovered that I had placed forms 1 and 16 incorrectly on the bow & stern forms. O. K, that's enough "false starts"!

Hmm, maybe not. 😉 I set up the box beam and alignment strings, then looked for the form with the least distance between keel & waterline, to use as a gauge. I found that several of the forms were very close in that measurement, and actually had difficulty picking one. That brought me to the conclusion that this design does not have enough rocker. It was mentioned on the Kayak Foundry message board. 
So, "back to the drawing board", as in Kayak Foundry. I dropped the keel down a few clicks to add rocker. I reprinted the forms (this time, giving Staples' copier a pass), and remade them on 1/2" MDF, being tired of the bulk of the 3/4" stuff. I seem to recall using 1/2" material in the past.
It seems that I didn't add much rocker- several forms in the center had almost no drop from the string, which caused the quandary mentioned above. I set up to the waterline.

Showing how flat it is in the middle. Almost no rocker until form #5.


At the stern, very little rocker until form # 15.

So, I accomplished my goal of designing a kayak with low rocker and a long waterline. I wont know how it handles until I paddle it.

Friday, November 20, 2020

Starting

I printed the forms routinely, lots of paper and tape, as with my last Kayak Foundry build. I thought it might be easier to work with copies, so I went to Staples. I paid $20 for slow, mediocre service. It was easier to work with the copies, but after all the forms were glued to Masonite & trimmed, I found that form #2 and the Bow Form misaligned by over 1/4"! I began to suspect that Staples' copier was off, but after careful measurement, I determined that the copies were O.K. I finally realized that I know how to finagle, shim, and adjust forms during the build, so I trimmed the Deck Side of the bow form & went with it. If necessary, it wouldn't be the the first time that I had to make adjustments on the fly.

I have two superstitions about starting a build. On every good build, I have managed to hurt myself a little (things on the order of stapling my finger, dropping something on my foot, etc.) and made a false start on some phase of the project. This time. I stuck my finger with a measuring gauge, and had the quandary about the forms. I also had to re-make forms 1 and 2. 😉