Tuesday, May 17, 2016

Sanding Outdoors

Last year, I discovered that it is much easier to wet-sand a kayak outdoors, so I did it again:

It was also the first time I saw this 'yak and the OI in the same view. This is a wide-angle view, so its slightly exaggerated, but again, Vaclav's design is much higher in volume than I expected.
I also varnished the Cape, and re-varnished the OI, side-by-side, on sawhorses, in the basement. It was a tight fit, and I think I'd have done a better job on each if I hadn't done it that way. However, I think I'm less picky about perfect finishes than I used to be, after years of using these kayaks.
BTW, the "minor repairs" on the OI look fine after finishing.

Monday, May 16, 2016

OI Minor Repair

I'll have two kayaks this summer: my Outer Island I, on its 3rd season, and the new Cape Ann Storm LT. I brought the OI outside to do some minor repairs:
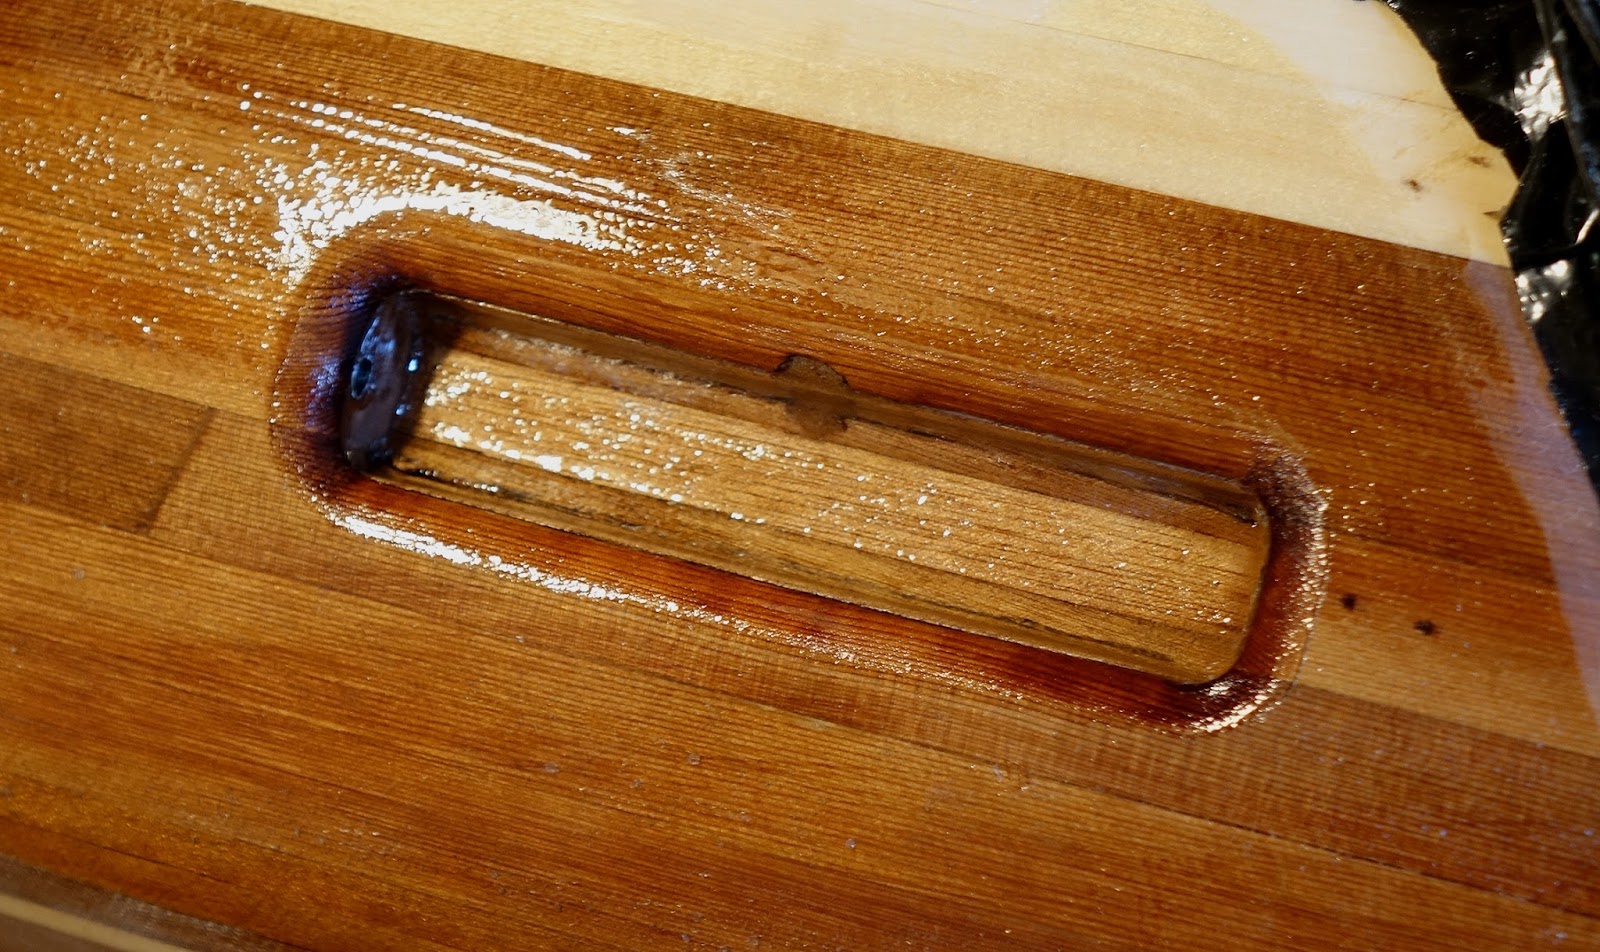
A patch of 4 oz. glass where the original sheathing was starting to wear. There are some dark spots where water penetrated, but I think it will be o.k. 
Surprisingly easy to work on this outdoors.

Friday, May 13, 2016

Knee Braces & Cockpit Rim

I painted the cockpit rim, again in my favorite Jolly Green. It fit into the boat rather well. I glued it in with dookie, using some microballons, hoping that they might expand while curing, making a snug fit.
The knee braces are separate pieces of plywood. Because of the way that the rim fits into the boat, I found it easier to do it that way. I glued them in with more dookie, and they will be painted to match the rim.

Wednesday, May 11, 2016

Foam Bulkheads

Most every build, I try a new technique or two. Sometimes, its an innovation, other times, it represents "doing it the hard way". This time, it was bulkheads cut from 3" minicel foam:
These were much easier than I expected. The compress-ability of the foam gives some leeway-you can simply push the bulkhead in until it fits. There are some gaps, but I think I filled them adequately with caulk. Much easier than whittling a piece of plywood until it fits, big fillet of dookie, etc. 
Side brace plate visible on the left.

Monday, April 25, 2016

Cockpit Rim

I decided to go for a fiberglass rim again. This time, I went for fat 10 oz. fiberglass. The stuff is hard to wet out with epoxy, which it drinks up greedily, but I hope it will build the thickness up faster.
I used various rolls of tape to hold the foam down. I used 5 layers of 10 oz. glass, and finished with one layer of 4 oz. It appears to be thicker this time.
I also cut the hatches out today. The usual amount of shaping and correction.

Sunday, April 24, 2016

Skeg Control Box

I had tried routing a fancy control box from a single block of wood, but I really couldn't get satisfactory results. I ended up using the box I made according to the plans, made of many little pieces of plywood.
 Filleted & glassed to the underside of the deck. I turned the boat upside down to do this, and made an amazingly silly mistake:forgot that left is right/vice versa when upside down, and installed it on the left side! I was concerned about not interfering with the knee braces, and put it rather far forward. I hope that I can reach it.
Had a little trouble finding where to drill into the cavity, and nicked the box a little. Repaired it with dookie fill, and routed out the hole. Doesn't look bad.

Tuesday, April 12, 2016

Back To The Deck

My random orbit sander bit the dust. I replaced it with a big, 6" job that has variable speeds, and two diameter-of-orbit settings. I always thought it easier to do a small job with a big tool, than vice versa. The new tool really made sanding the deck a breeze.
Glassing the deck went easily, except for one glitch: I discovered that the 30" glass wouldn't cover the deck the widest spot! I improvised with a patch, that I think will blend in o.k.
I think I may have finally gotten the hang of saturating fiberglass, after five builds. The trick seems to be to saturate the glass evenly, always using enough resin to fully saturate the glass. Whatever it is, it must be one of those "indescribable knacks", because no matter what I read, I had to get the hang of it myself!

Friday, April 8, 2016

Closing The Clam

I did, this time, use the spreader sticks of the recommended size in the hull, after glassing the interior. It may have helped a little, but the hull still shrank.
I resorted to using the spreader sticks, tethered with strings, to spread the hull. Oddly, the hull was wider  than the deck, near the bow. I resorted to using two Big "ol Clamps to pull it back together: 
This time, instead of using the pre-made 9 oz. tape, I made a long 2" strip of 4 oz. glass for the inside seam. The usual scramble to wet it out with epoxy.

Sunday, March 27, 2016

Back To The Hull

Opening the slot for the skeg. This was fairly easy to do with the router. It looked straight from the inside, but it looks off from the outside. I think this may be because the strips were thicker on one side, however, when I insert the blade, it looks straight. We will have to see...
Glassing the hull. This time, I tried using plenty of epoxy to saturate. Lots of it ended up on the floor. I avoided trying to "push" the resin into the glass, and there doesn't appear to be any ripples.
I also figured that the only places I ever get any abrasion damage (barring mishaps) are the bow & stern, so I went for 3 layers of fiberglass in those places, the rest is a single layer 

Tuesday, March 8, 2016

The Interior

I decided to do lots of the fairing work with the boat still on the strongback. It seemed like a lot  of work this time around. Strange, how different parts of the project increase or decrease in difficulty each build.
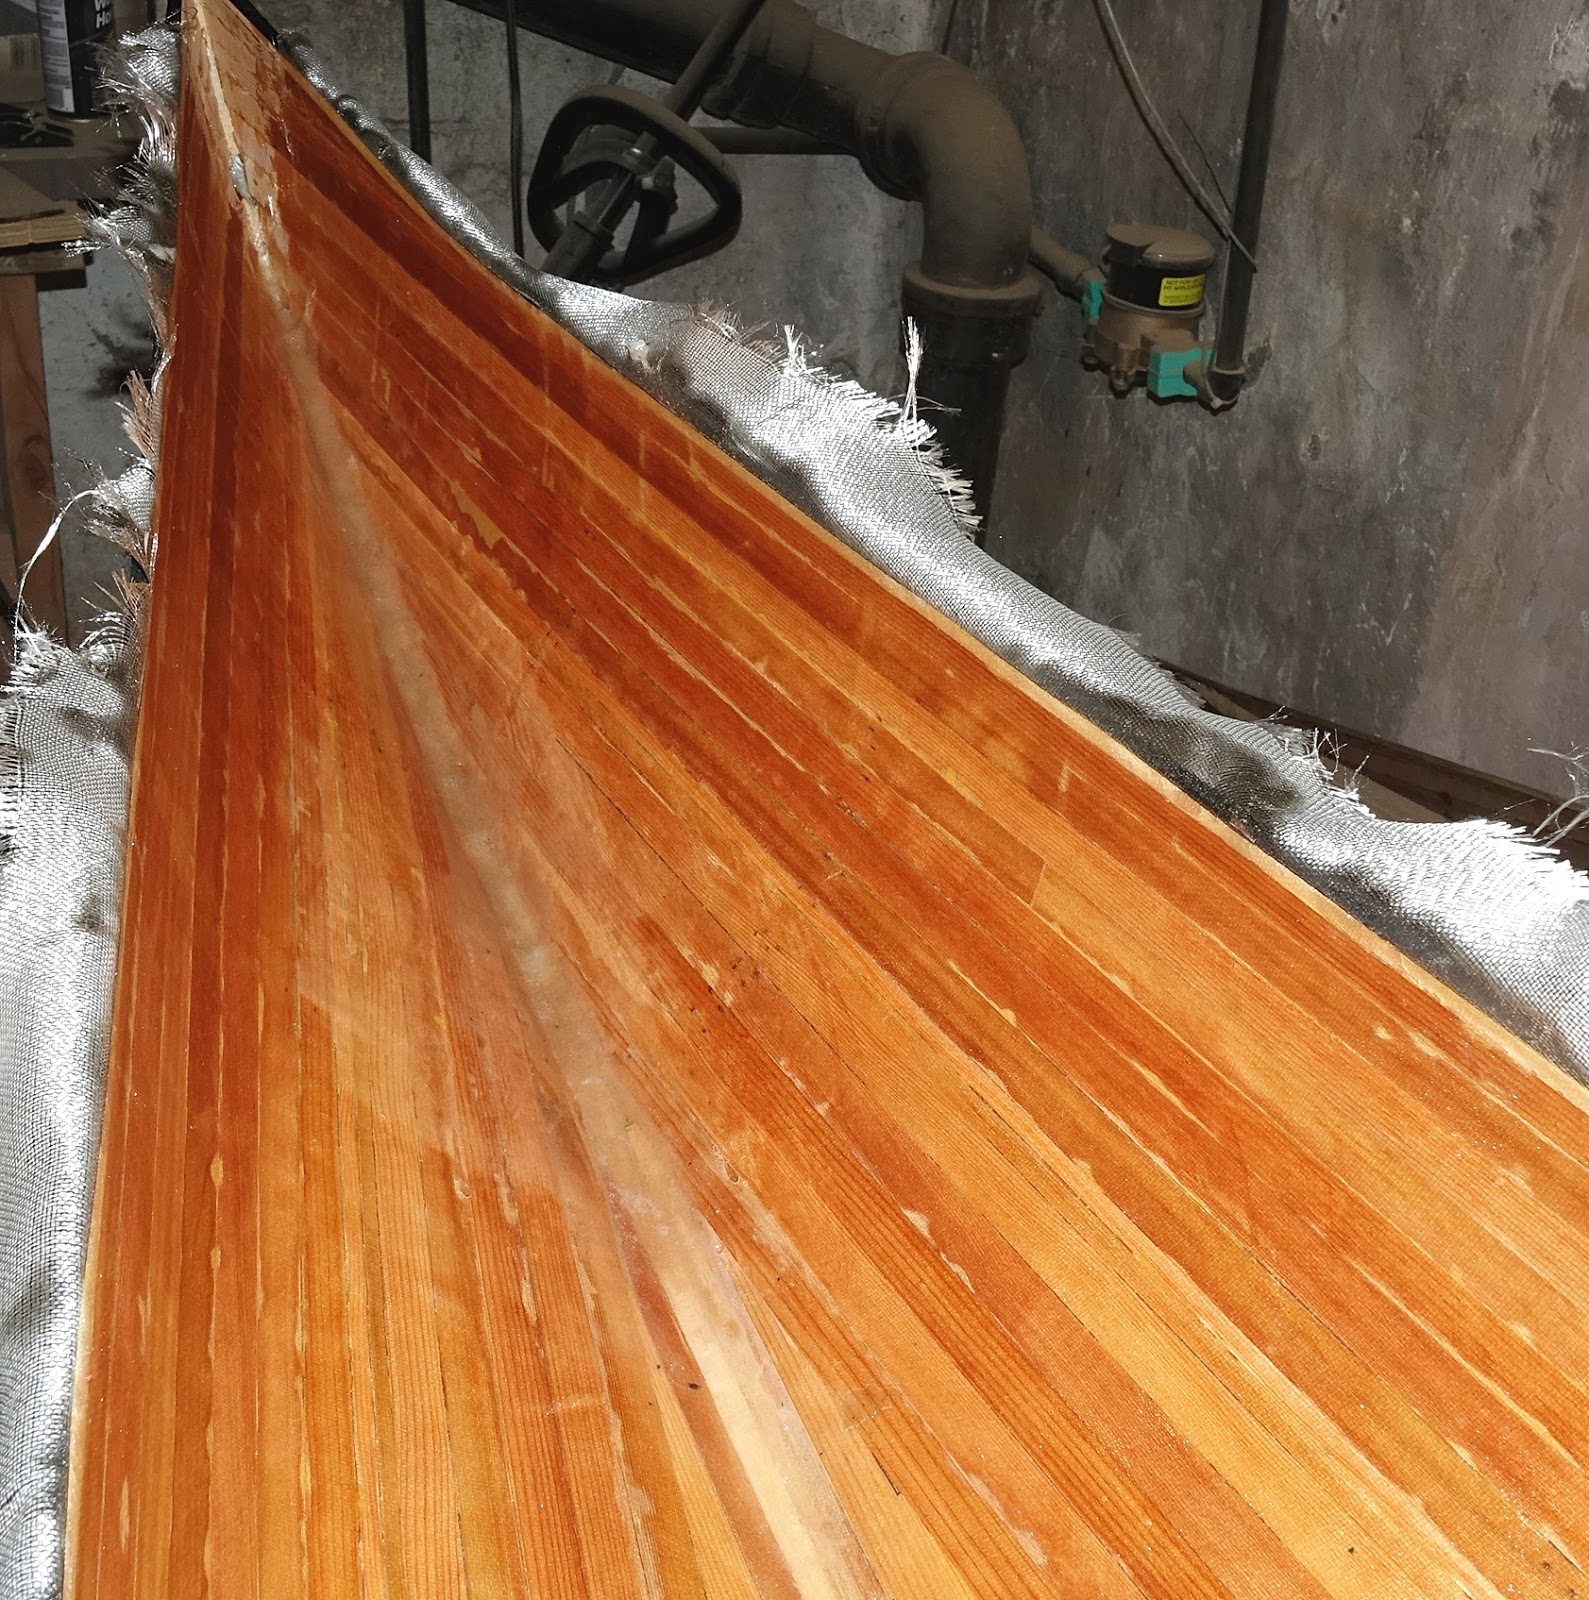
The deck was easy to remove. The hull, of course, wasn't. I ended up having to saw the beam in half again, but fortunately, nothing was glued together this time. I was thinking about saving the forms & strongback intact, but on second thought, the whole thing is too massive & heavy to have lying around. I'll just save the forms.
Lots of grinding, scraping. etc. on the interior. As usual, it got pretty thin in some spots, but I just "went for it" with a 40 grit sanding disc.
I had a bit of a revelation while trying to fair out the ends. On my stitch-and-glue builds, the instructions have you make a fillet, then apply the glass, and wet it out with epoxy. It occurred to me that I could do this in the areas that I couldn't reach, and the thin spots.
Worked like a charm! You can see some haziness where the filler mixed with the clear epoxy, but the whole thing came together well, with few or no bubbles. To think: I had been doing a fillet, then laboriously grinding it back down. I'll probably do this on the underside of the deck, too.
I did the footbrace kit as on the last build. Pretty easy, once I figured out where to put them.
The skeg box glued in. I decided to try to center it  on the keel, instead of putting the whole box through the hull. The string is there to align it to the boat, but I did a lot of adjusting & tweaking to make it look straight. I also put it somewhat forward of where the instructions recommend. 
Glassing the underside of the deck went fairly easily. I used the putty-fill technique as above, with good results

Wednesday, February 10, 2016

The Deck

My first two attempts at a deck design didn't work out how I planned them, so I fell back on a Big Skunk Stripe down the center:
Still interesting how the size & shape of the boat seem to change with progress. Its starting to look like a short, fat, kayak.

Saturday, January 9, 2016

Flipping 'Er Over

I completed stripping the hull, and of course, ran out of strips. I cogitated for a while about whether to get more light-colored wood to match the hull, or get some darker stuff. I went for the darker stuff, because the lighter stuff doesn't contrast much with the basswood.
On the last build, I tried to fair the hull before stripping the deck. I ended up removing too many staples, and some of the forms wanted to fall out when I flipped the boat, causing problems. This time, I rough-shaped the stem & stern, and left most of the staples in. 
The spine, forms, and hull weigh what seems like 100 pounds. I hung all from the rafters, using my roof tie-downs for ropes, screwed hull-shaped wooden blocks to the I-beam, and flipped 'er over.
Now I finally have to decide on a deck design.

Saturday, December 12, 2015

Stripping The Hull

The most fun part of the build:watching the strips take on the curve of the forms, and a "boat-like" appearance.
I noticed that this kayak has a harder chine where the bottom meets the sides, so I used two 3/8" strips at that point. The usual mess of glue drips, steps between strips, and Occasional Brute Force. I did some heat bending at the stern, but it was easier than the Expedition Sport's. 
End pieces, using the usual barrage of clamps, tape, staples, heat bending, etc.
I think that the last time I used an internal strongback,  I inadvertently ground the strips down too far, through the masking tape, exposing the form to glue drips. This time, I tried another skinny strip of tape to try to keep the glue out. 

Wednesday, November 18, 2015

Starting to Strip

Milling the strips went routinely, except that I'd almost forgotten how "physical" and dusty the job is. Again, I ended up with strips 3/16" thick, and decided on a 5/8" width this time. I hope that the smaller strips will be easier to twist into place.
I built the "cross trees" and "outriggers" the same way as the last time, except that I bolted the short boards into the platform, and left the long boards loose. 
The first little cheater strips are in place. I finally figured  out to make the second ones shorter than the first, reducing the number of cheaters needed.

Friday, November 6, 2015

Strongback

After doing it both ways, and realizing the ups and downs of each, I have to conclude that its generally easier to get things aligned when using an Internal Strongback-especially the bow & stern sections.
I had to do a little pulling & tweaking on the spine in order to get the centerline on the forms to line up to the string, but it seems to have come out well. I adjusted the bow & stern sections using shims, and held them in place with glue blocks.

Friday, October 23, 2015

Starting In Earnest

It seems strange, how much I "forgot" about building between last year and this year. I tried building an I-beam twice, using dimension lumber, before giving up on finding boards with no twist or warp. I finally went for this "composite" stuff:
It weighs tons, but it appears to be dimensionally stable. I'm doing an internal strongback again, this time, and after doing it both ways, I think that this technique better insures "straightness". 
The "spine". The Strongback Jinx  was in-I made the first one 1/2" too small! This is poplar ply. I found that the forms fit a little too tightly, so I actually ran the whole beam through the surface planer. It was a a little bit too much to handle, so I widened the holes in the forms instead.

Thursday, October 1, 2015

Skeg Plans

I decided to build a skeg & housing from scratch. This gives me something to work on & get psyched for the build. I want to complete as much of this as possible before glassing the hull interior, so I won't get hung up in a lengthy process while the hull wants to shrink & distort.
50-page building manual, and lots of small plywood parts, all of which have to be epoxied, and many fiberglassed. I had to order some rather expensive stainless steel parts. 
Nicks plans call for building a closed box, making a hole in the hull, putting the box through the hull, then trimming to the hull. I'm going to shape the box to the hull interior, and make a slot for just the skeg.
I could not get a feel for what has to be done just by reading the manual. I had to get my hands on the work, following the instructions, before I "got it".
After cutting the bottom of of the box, I tested the skeg blade for fit. I broke the hinge. I glued it back together, then broke it again. I decided to duplicate the blade in Lexan:
It was pretty easy to trace from the wood, and I don't have to worry about waterproofing. After some adjustments, it fits fine.


Thursday, September 24, 2015

New Things

For various reasons, I decided to donate Outer Island II to a nonprofit organization.
I was in a stressed-out condition for most of the time I was working on it, and it was not my best work.  I somehow managed to feel rushed & driven while working on it, instead of relaxing & having fun. In the end, I just didn't like it.
That being said, I'm using my trusty Outer Island I many times this summer, as usual repeating my favorite trips. 
However, that does not mean that I'm not going to build another kayak! I'm still looking for a smaller "go-to" boat. I looked at Vaclav's Cape Ann Storm LT as a possibility. At 16', even the designer recommends the use of a skeg. I posted a question on the Guillemot message board, and got the usual flurry of responses, and it got me psyched up for another build.
Sometimes, I start a build with a detail, like the carrying handles. This time I ordered Nick Schade's (50 page!) plans for a home made skeg box. 
I guess this qualifies as The Start Of A Build, so here we go! Its only September, I can take my time this time.

Sunday, June 21, 2015

Done!

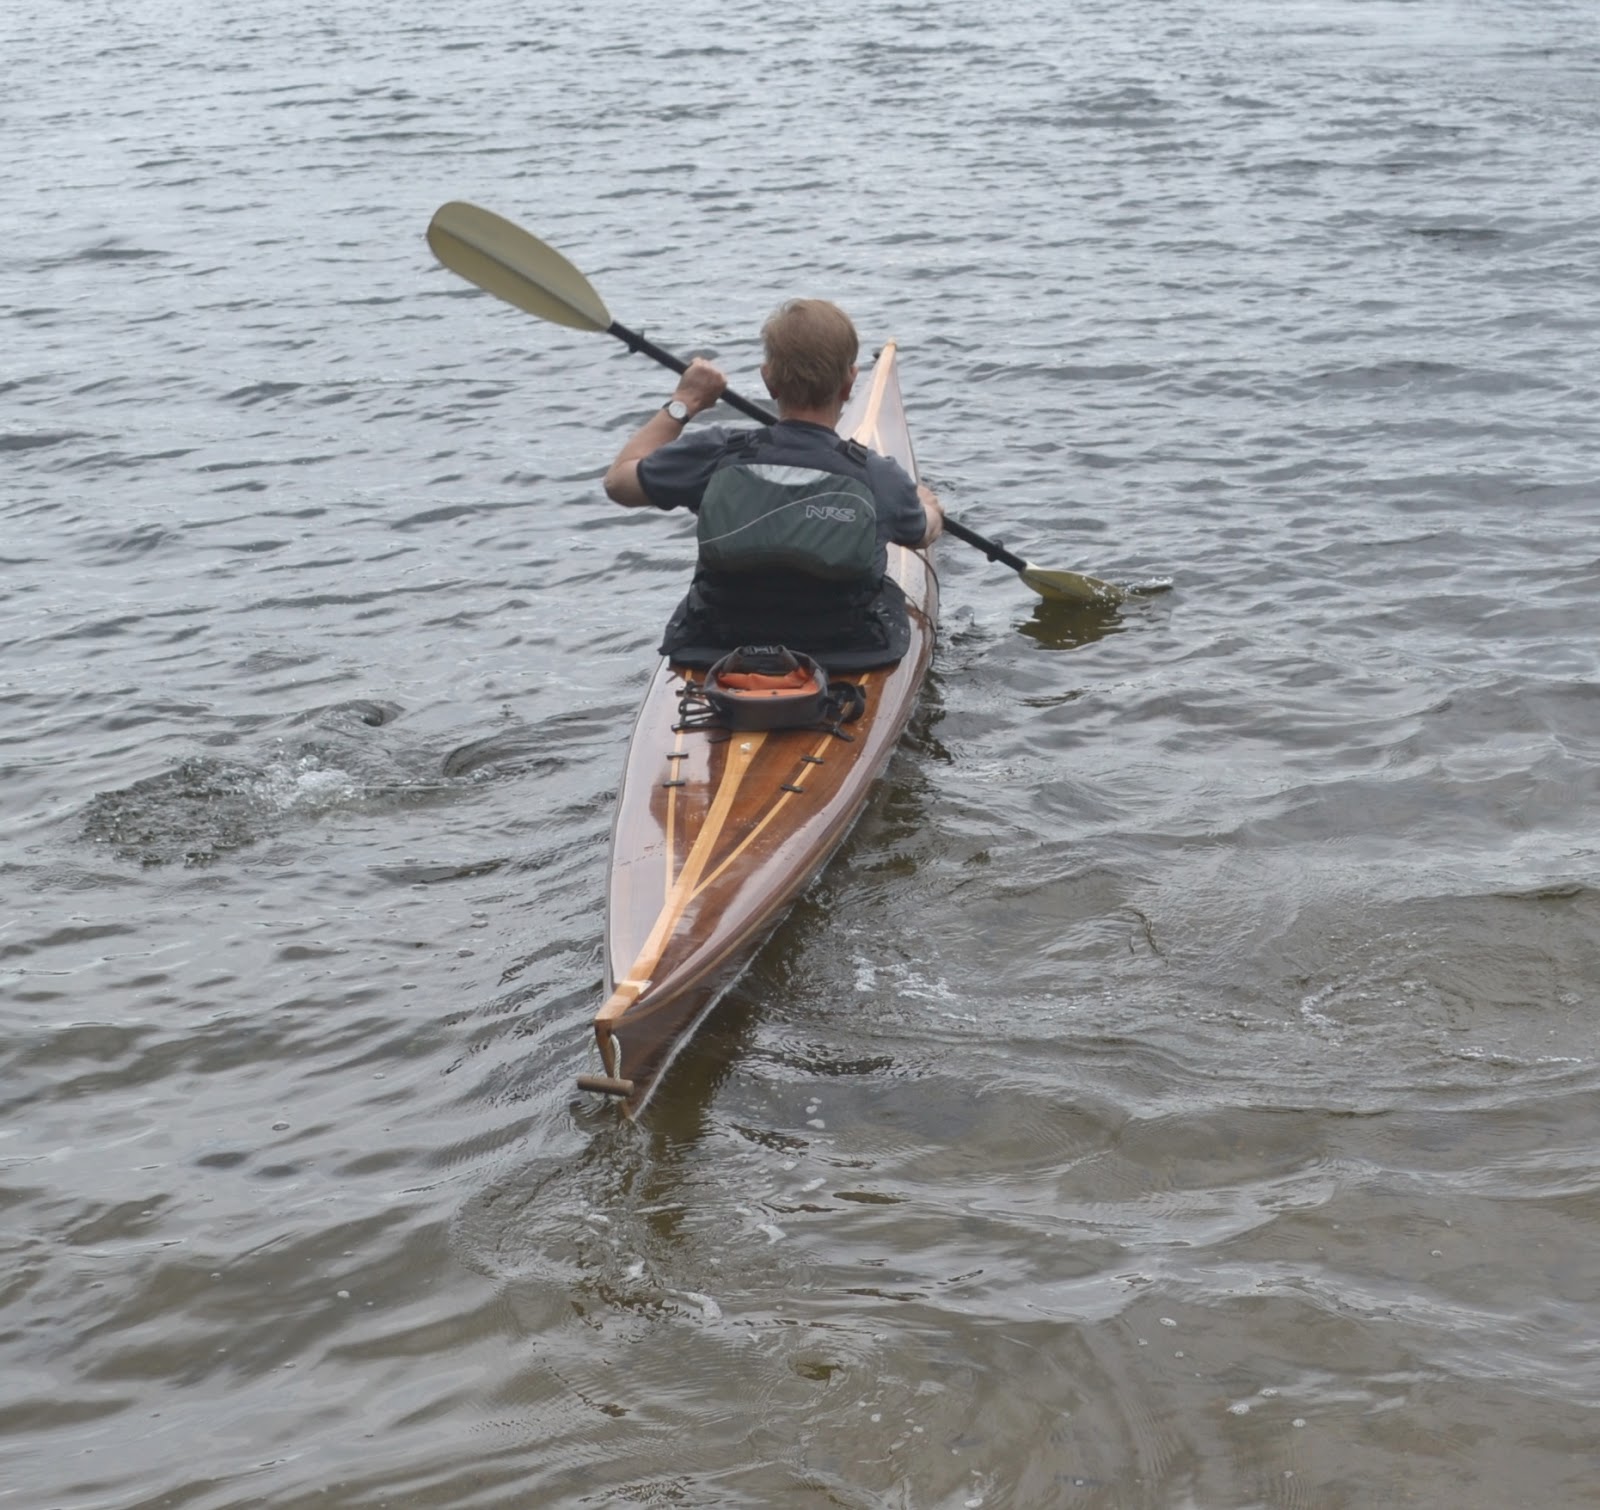
Off to the traditional lake for a tryout:
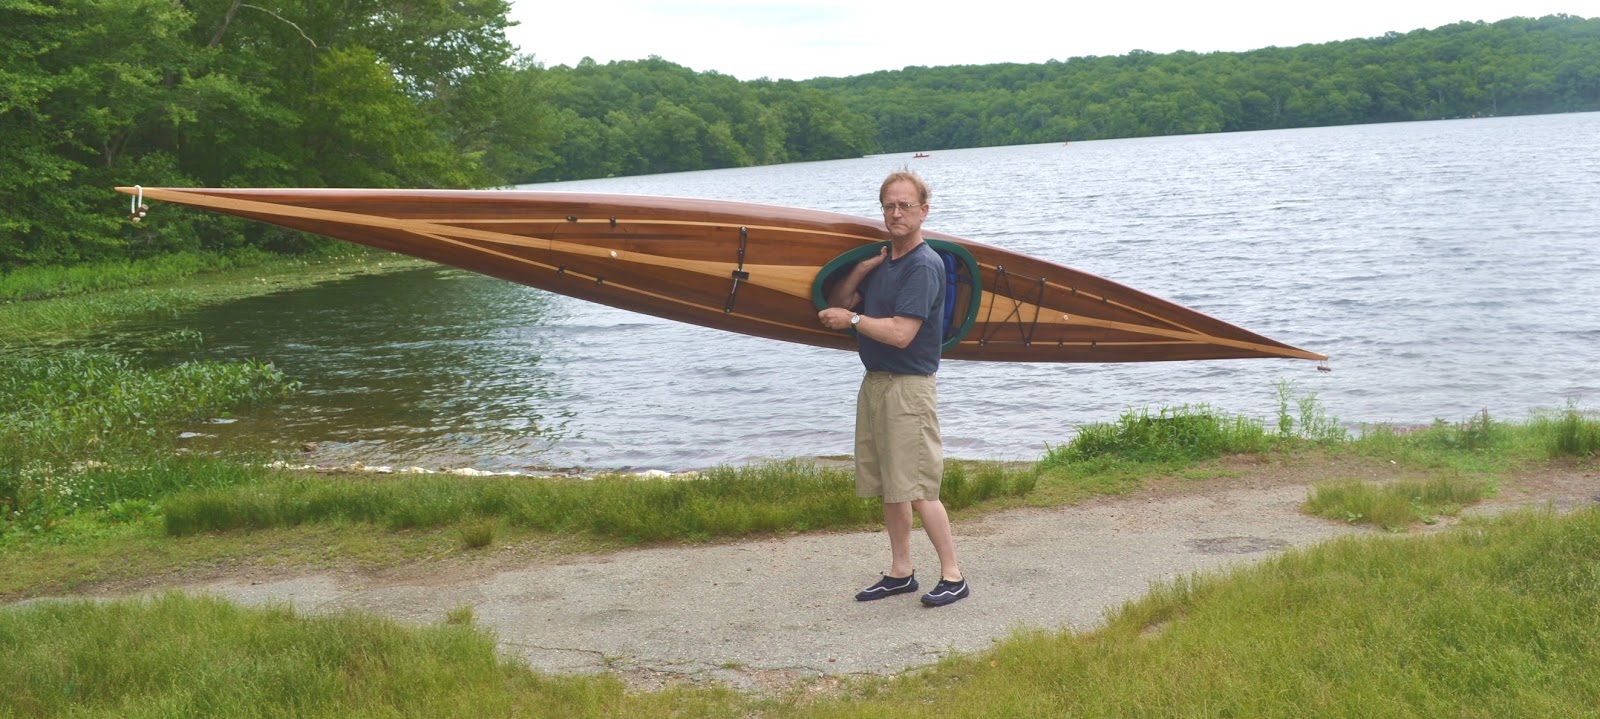
And of course, the traditional Trophy Shot:


I was actually surprised at how very similar the handling is to my first Outer Island. It may cruise a little faster-it was easy to maintain at 4 mph, and sprinted to about 5. The stability is almost identical to O.I. #1, which was slightly surprising, because I  built it to the design length this time, and I expected it to handle just like Jay's, with the stiff tracking and solid secondary stability. It must be a Mystery Of Kayak Building-how two people can build to the same specs, and build two different kayaks.

Outfitting

Went fairly easily & routinely. The hatches, grab handles, and deck rigging were done almost exactly as the last two builds, with one difference: I made a simple loop on the foredeck for my GPS.
I carved the foam seat as usual. I found it interesting that the side brace foam pads had to be of a different shape and position than I expected, and that the foot braces had to be  extended to the third-to-last adjustment point.
Also, I confirmed that it is the cockpit size, more than the cockpit height, that allows butt-first entry into the kayak.