Sunday, May 19, 2013

A Stupa in Saybrook

One of the things I love about Geocaching is the way it show me nearby places I never knew about. 
This a nifty place. The sign says that it is preserved jointly through The Saybrook Land Trust, State of Connecticut, and Town of Old Saybrook. It appears to be an old farm, and still is, sort-of.
This thing stores "Farm Market" signs, near the small parking area. While we were applying anti-tick measures, a guy in a truck stopped by & was friendly. We think he is the "farmer.
A stroll down the road at the right showed interesting gardens. Most of the fencing, etc, appeared to be recycled materials, such as plumbing pipe. It had a friendly, funky feeling.
Hand-painted signs with friendly messages:

Further down the road, it gets really interesting. This is a building built of hay bales. It appears to be stuccoed-over. We pondered the building technique..
 The place had kind of an interesting take on private/public. It seemed that we could wander around what would "normally" be "off limits" freely, yet a few places were fenced. 
This was great. It  is an outhouse, but it took me a while to figure out the meaning of the sign. We figured that it meant that "guys", as in literally "men" should pee in the woods, and save the outhouse for Seated Use. :D
On through the woods to the cache. Very nice, well-cleared trails, and interesting trees.

The cache was nicely placed, overlooking a small, pretty lake that I never knew existed. We checked out the Stupa:
I couldn't seem to find a way to take a good photo of this. The field is foot-tall grass, dotted with buttercups and lilies, with a few paths mowed. It looks like a great place for something : Music Festival? Craft Show? 
Prayer flags:

Across the field, more evidence of Old Farm Homestead:
 
Interior:
Neat Day!
 

Sunday, May 12, 2013

Carrying Toggles Of Ancient Wood

My friend Bonnie and her husband once owned a woodworking factory in New Hampshire, which provided wood for one of the U.S.S. Constitution refits. In my previous build, I also made carrying toggles of wood which Bonnie claimed was "from the Constitution". It was Indian rosewood, which made me think that it was probably a scrap from a modern replacement part, rather than original wood. However, while cleaning out her house prior to moving, she found this venerable-looking timber and kindly gave it to me:
It definitely looks old. The hole on the top looks like it was drilled for a peg. There is a remnant of a copper nail. I started to get excited, thinking that it might have "monetary value", and did research. Some Dipstick On EBay had a similar piece, for which he was asking $10,000.
I took photos and sent a letter to the curator of The Constitution  Museum. He answered that it was:
1. Old
2. Oak
3. Very probably from a ship
4. Impossible to prove that it was from The Constitution, without Documentation, and
5. Of very little monetary value, even if it was.
I since learned that Constitution Wood, from the many refits, is not particularly rare. Guys used to have walking sticks made from it. The doors of the Customs House, here in new London, are made from it. Smaller scraps are sold in the Museum Gift Shop for $5.
In any case, I thought it would be a nifty piece to use. I made a turning blank:


Strange. This wood emitted an aroma when cut. I can only describe it as "oldness". I wonder if they treated it with something?
I like the way these came out!

Tuesday, May 7, 2013

Hatches

This went fairly routinely. I had the pages from the manual copied at the recommended sizes. I found that the sill size gave a rather small lip for the gasket, and I like to use a full 3/4" piece of weatherstrip, so I made the sills wider.


Cutting The holes went fairly easily. 
CLC advocates laying up the spacers and sill all at once, making a gooey mess that will have to be chiseled & sanded. Instead, I glued the spacer on first, then the sill. 

This was much easier to clean up.

The last job of woodworking was the thigh braces. That too, went easily. 

Wednesday, May 1, 2013

Cockpit Coaming & Riser


I had a feeling that I'd make myself a lot of work by raising the foredeck, and I sure did.
On my previous builds, I raised the coaming by stacking up rings of plywood. after raising the foredeck 1", there was nearly a 2" difference in height between the front & back, when a straightedge is placed across the opening. I posted on the message board, and of course got plenty of suggestions. I decided to go for the Lots Of Tiny Pieces method.
I put coves & beads on some leftover pine strips. Somehow, this was easier than the last time I tried it. It must have been the router table setup.
I glued the pieces together with hot-melt glue. I'm kind of working backwards here: most make a very neat cockpit opening, then build the riser around it. I made a very neat lip ring, and I'm building the riser around it.
Second row, glued to the first. Already scrounging for clamps.
I thought the setup might look ugly, so I made a strip of white oak to go around the outside. Tried steam-bending it (disaster), but managed to laminate it on with the heat gun & epoxy.
Coping the bottom to fit the deck was very tedious. I discovered that one side of the opening was higher than the other, and had to use major clamp pressure to get it level. I made a fillet of dookie around the outside.
Showing the height difference. I couldn't see building it up with 8 plywood rings, or 20 layers of fiberglass cloth!
Fiberglassed, by the usual technique, and the usual sanding. Very pleased that my old spray skirt fits.

Saturday, April 20, 2013

Rattlesnake Mountain & Hospital Rock

Rattlesnake Mountain is yet another steep trap rock ridge, part of the Metacomet range that includes The Hanging Hills and Mt. Higby.  After reading about it on the CtMuseumquest web page, I went looking for Hospital rock. Very fortunately, someone has placed a cache near the rock, providing coordinates.
Parked on Metacomet Road, after passing many "No Parking" signs, at what seemed like a safe spot. The trail head leads to this remnant of a road:
 Very eroded & steep,it climbs the full height of Rattlesnake Mountain in a few hundred yards.
GPS brought me over a few dirt roads to the cache, which was only a few yards from Hospital Rock. The Rock is much more subtle that I'd expected. Somehow I was expecting a wide-open area on a prominence, but its in a flat, wooded area. One could walk right over it without noticing. The carvings themselves are very faint. You can highlight them  by brushing them with flour, and if someone hadn't done this recently, I wouldn't have noticed them at all. I brought my own flour & brush, and dusted until I ran out of flour.


 And the Neatest Carving Award goes to:

 Back to the trail for another cache, this one near one of those old Nike Missile sites. The Trail goes right over it. 
Lots of rusted fencing about.
And a nice view of a toney neighborhood:


Saturday, April 6, 2013

Glassing The Deck

Even the parts of the project that I expect to go "routinely", sometimes have problems. They must be "routine" problems.
I got a few ripples. One day, I will figure out what exactly causes this.
Jay's building manual advocates glassing all parts, then glassing in a strip on the outside. Instead, I left the top of the deck un-glassed, and masked an overhand, as on my last two builds. My choice of masking tape (filament) was slightly better than the last time, but this time I had to pull off left-over filaments.
 

Wednesday, March 27, 2013

Closing The Clam

This was a bit more tedious than expected.
I had considered cutting strips of 4 ounce fiberglass, but broke down and got a roll of 9 ounce tape. Here its tacked to the inside hull with hot-melt glue.

 The deck is still unglassed. Some epoxy did come through the deck, but I think I can deal with it.
It was hard to get the deck & hull to match up. Pushing the hull up to the deck was much easier than trying to pull the hull out to meet the deck. I posted a "help" message on the ConYak Builder's Forum. I mainly got a lot of complicated suggestions, but one worked: I made a 2x6" strip of aluminum (roof flashing) with a 90 degree bend at the end. I slid it into the gap, and pulled out on the hull while taping the halves together.
 My Thule racks have been pressed into service to hold the boat on end. I have the famous Brush On A Stick attached to a long stick. This would have been much easier to reach if the hatches were cut, but I want to glass the entire deck before cutting hatches.
I had almost forgotten how greedily 9 ounce tape drinks epoxy. I also found that the size of the brush wouldn't allow me to spread the epoxy to the bitter ends of the bow & stern, but I think I can reach it later, once the hatches are cut. 
After getting halfway through, I realized that I'd forgotten about gluing the the deck down at the tips. I rushed to un-tape the ends together, and woked some glue into the gap with a brush. A "whew" moment. 

Tuesday, March 19, 2013

Deck Underside

Fairly routine. I had to resort to some microbaloon filler in the area just behind the cockpit, because I'd have run out of wood. I'll definitely use thicker strips  the next time.

Sunday, March 10, 2013

Glassing The Bottom

Since my hull came out a little thin, I decided on a little more reinforcement than on my last build. I made a piece that was part "football" and part end strip. I have noticed that scratches from grounding happen most often directly under the waterline. The reinforcing strips that go all the way up the stem & stern don't really do anything.


I also took Jay Babina's advice, and put the small piece under the big one. This absolutely works better- no strings or fuzz, it all blends right together.
The glassing seemed to go well, but I had forgotten how much epoxy a double layer will drink up. 
The glass did ripple under the double layer. I don't know if it was just because it was double, or because the small piece is underneath. I haven't had this happen since my first build. At least I know what to do about it-grind, scrape, coat, etc.
 

Thursday, February 28, 2013

Hull Interior

As I suspected, it was a lot more work to get the hull interior smooth that it should have been. I started scraping & sanding away it it yesterday, and I ditched work, determined to finish.  I resorted to putty fills in the dangerously-thin areas. 
I decided to actually follow the instructions, and do the bow & stern areas first. 
Its getting easier. Both ends took a little more than an hour, and it seemed less frustrating than the last time I glassed.  


The glass in between the ends went down fairly well also. I gave it two fill coats, sanded & varnished. I decided to paint the areas that will be visible inside the hatches. 
This shows how it will look when finished-a little more "stripey" than I expected.  


Monday, February 25, 2013

Geocaching

Every Solution needs a Problem. I bought a small, waterproof GPS unit, and decided to try some geocaching.After the usual new-gizmo frustration, I managed to find a website & download a cache. 
I found this after some more slightly comical learning-curve stuff. 
It was well-packed. The trash bag was a nice idea. I didn't see any trash on the trail, so I took the bag to place in the next cache I visit. 

Sunday, February 24, 2013

Cockpit Cutout

Here is the rough opening of the cockpit. I was right when I thought that it was a steep drop from the foredeck to the aft-it still is, with the area in wood. I don't think I'll be able to raise the coaming the way I did on the Shearwater, with 1/4" plywood, I'm going to have to "Improvise".
Also, I had just enough wood left after fairing the area behind the cockpit. I didn't quite get the strips down to the level of form 10.5. I'm going to have to reinforce the area from the inside, and raise the height of the aft bulkhead a little.

Monday, February 18, 2013

The Last Plank

Normally, this would be called "The Whiskey Plank", but I decided on "temperance" for two reasons: First, I had a stomach virus when I did it, and couldn't bear the thought of whiskey, and Second, there were so many, irregular, custom shaped boards in this build, that if I had a shot every time I put one in, I'd be in rehab now.
I can also see that I'm going to have to do a lot of corrective sanding & shaping. Oh well...

Tuesday, February 12, 2013

Deck, Continued

I was right in thinking that it was a heck of a drop from the extended front form to the rear deck. I couldn't really visualize it until I started working full-length strips on the sides.
I used the heat-bending technique, as for the stem & stern strips. I also offset the strips a little, like ship lap, to make it down to the deck. In future builds, I'll use the full 1/4" thickness for the strips, so I won't have to worry as much about running out of wood while fairing.
I can better see what has to happen now. I even resorted to a couple of screws to hold it down.
I also have committed to using the long cockpit opening. After weighing the Pros & Cons, I decided that I'd rather be comfortable than 100% aesthetic.

Monday, January 28, 2013

More Deck Stripping

This is actually my second "go" at the deck. I removed the few center strips seen in the previous post. I had trouble getting them straight, and they were too thin, anyway.
I milled some new strips. I found lumber that showed a fairly straight grain from the side, and plain-sawed the strips. Much easier than all that re-sawing! I also learned that slightly thicker strips are more "forgiving" in joinery.
The part where the strips curve from the shear to the flat deck is a bear ! I ended up using 3/8" strips, and it seemed to take forever to get the tapering right. I got more practice using the heat gun to bend strips.
I'm finding that its easier to visualize certain things better while in progress, than in advance. For example, the big curve from the foredeck to the after deck looks "impossible" until you begin to do it, then it graduates to "difficult". For this reason, I still haven't decided which cockpit size to use, because I can't visualize how it will look without the wood in place.


Wednesday, January 2, 2013

Starting The Deck

After some consideration and consultation, I decided to raise the deck 1", and go with the design Ocean Cockpit. Sometimes, I just have to make up my mind-I can build all the kayaks I want!
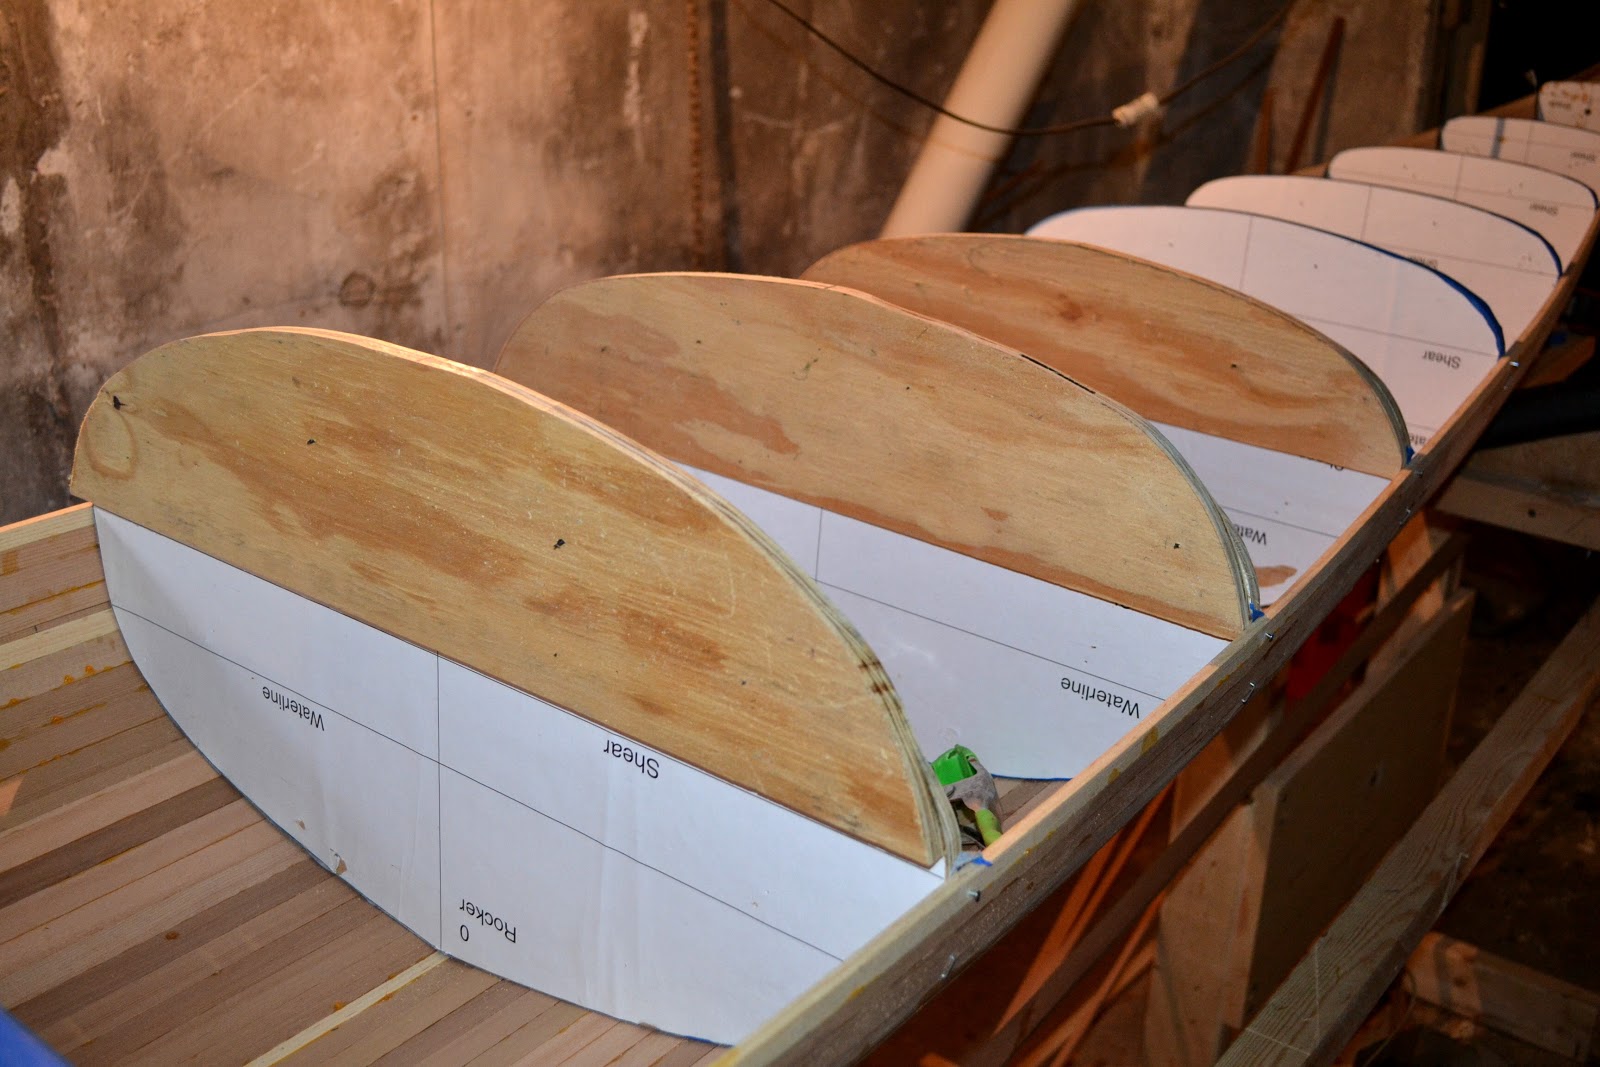
Per recommendation, I made form extensions. I also saw that if I kept the same shape on the sides of the extensions, it looked like a "wall" rising up from the sheerline, so I rounded the corners off a little. It seemed that three form extensions were adequate  for a fair deck curve. The 1" lift looks considerable, and it looks like quite a drop down to the rear deck level.

 I joined two 3/8" strips together at the center line. One 3/4" strip looked almost good, but I wanted to bevel slightly on the forms that are curved. The usual array of clamps and tape.